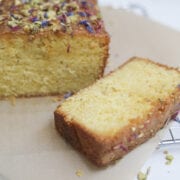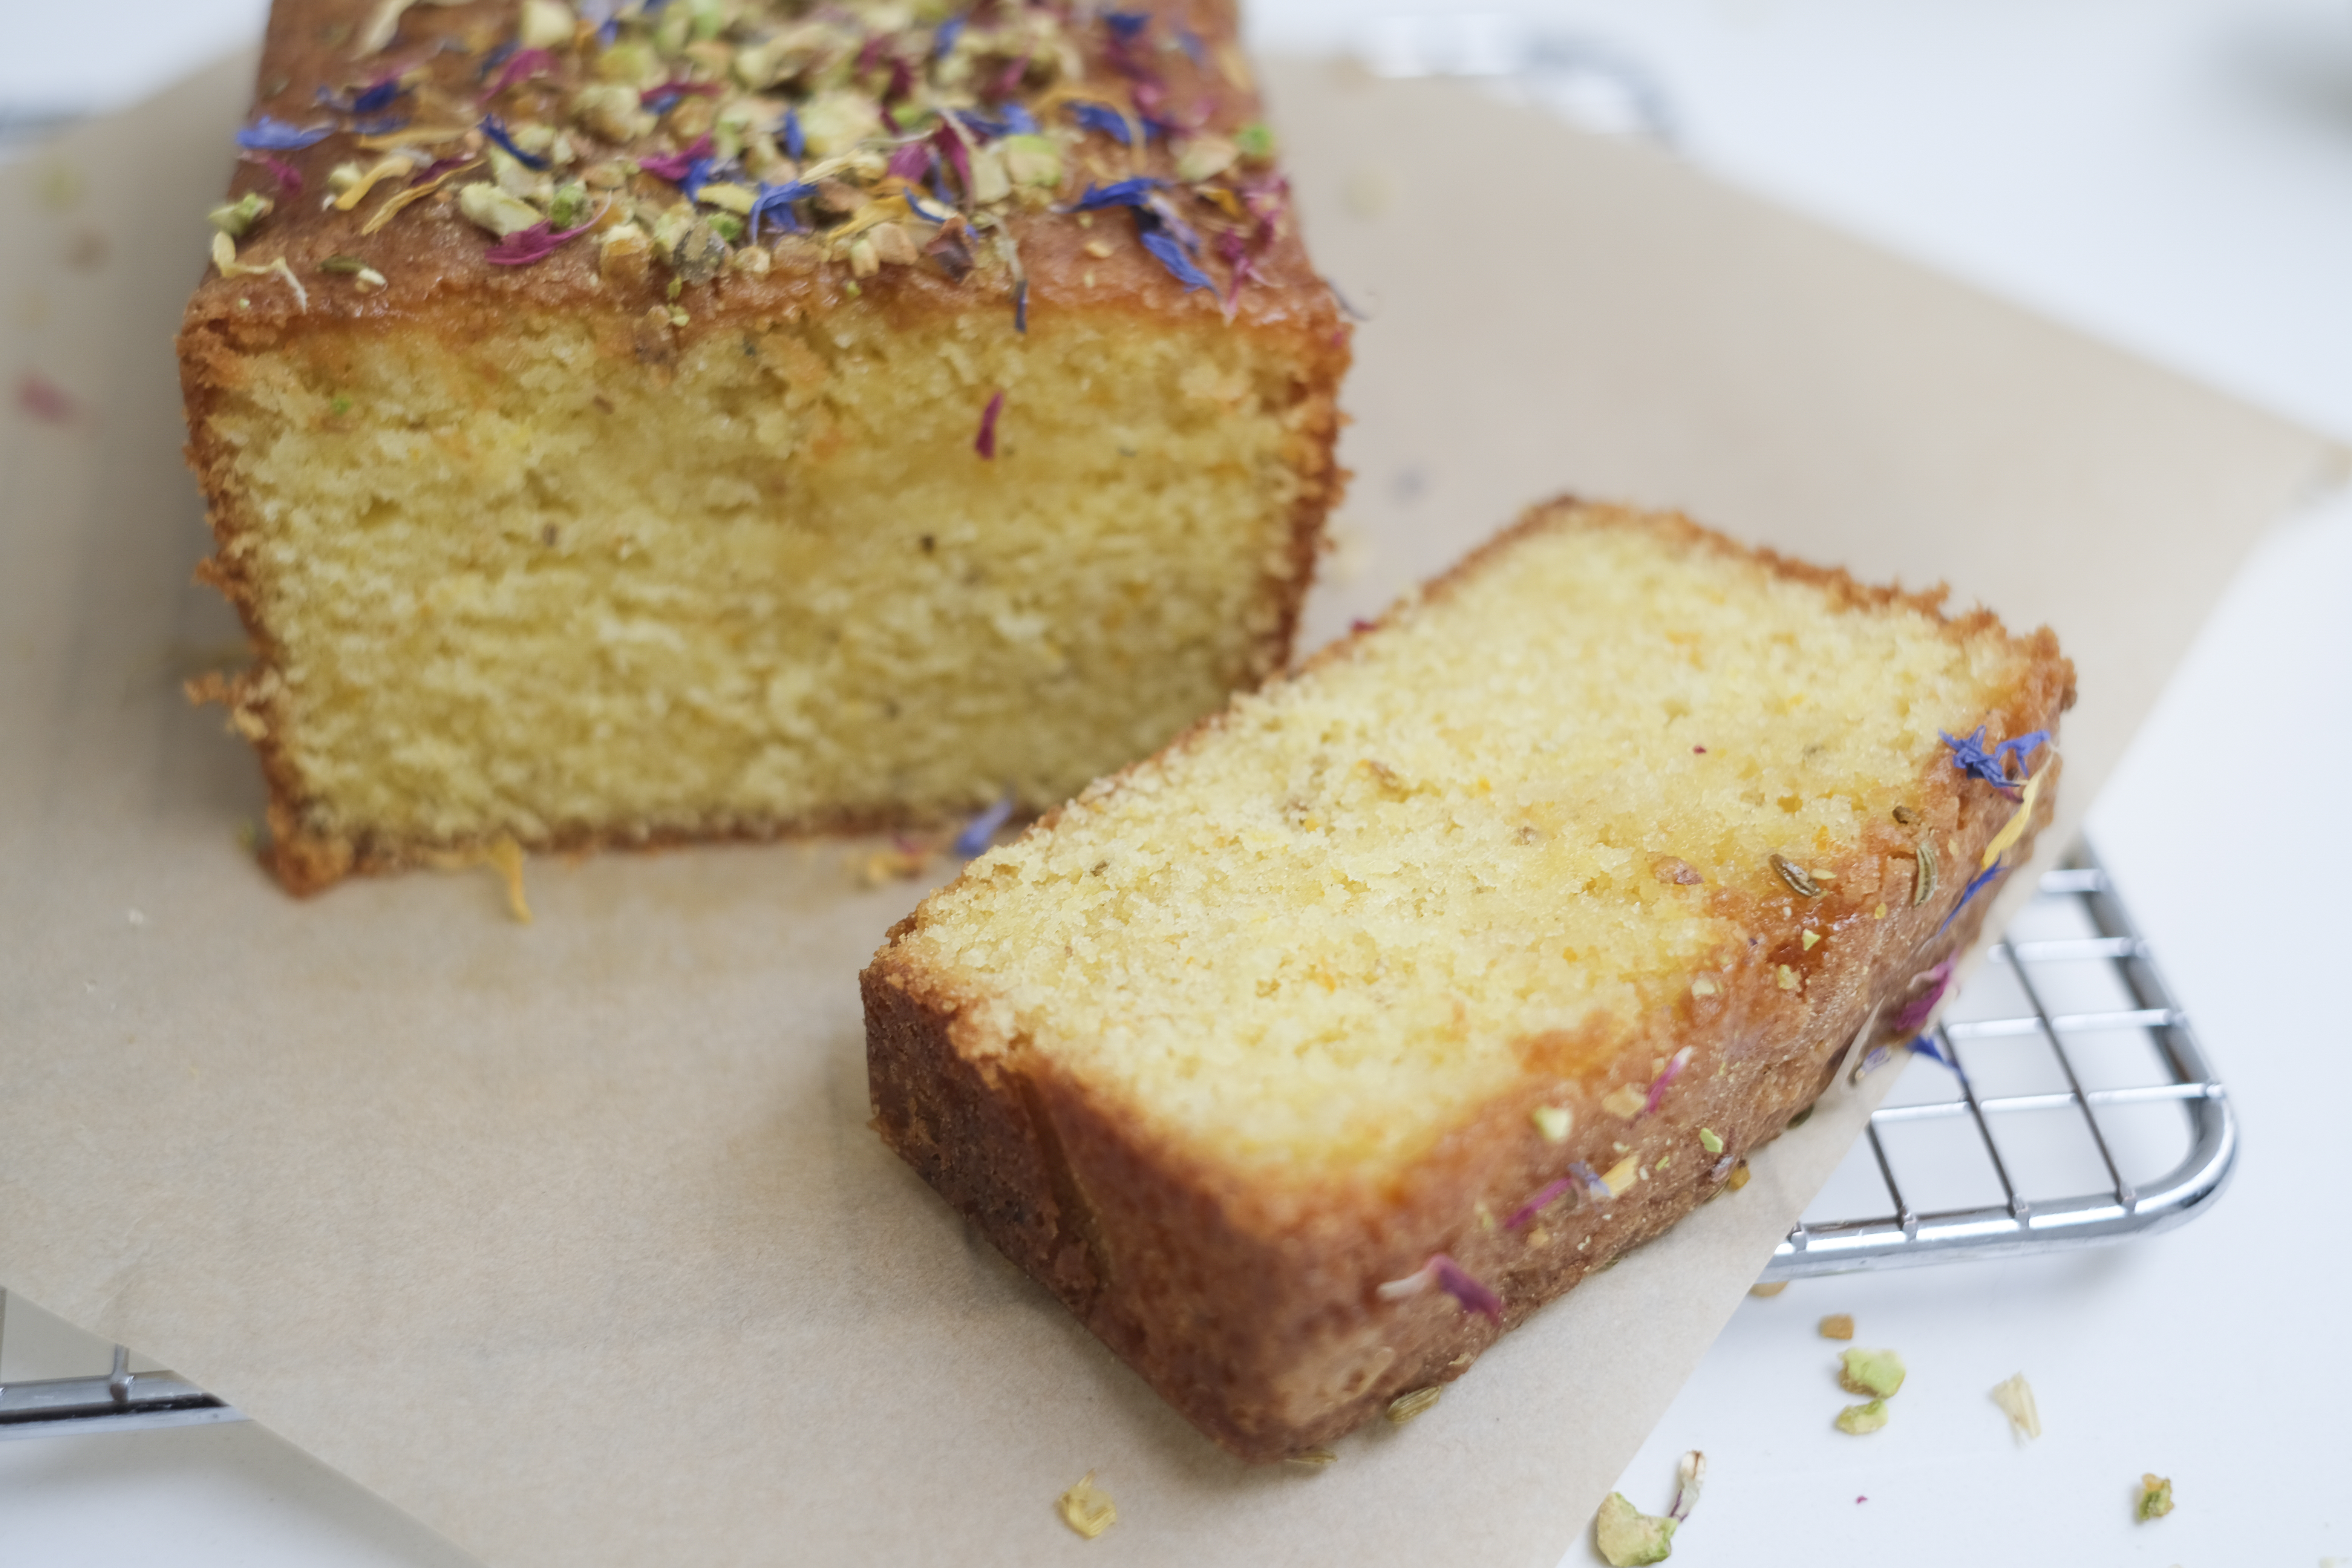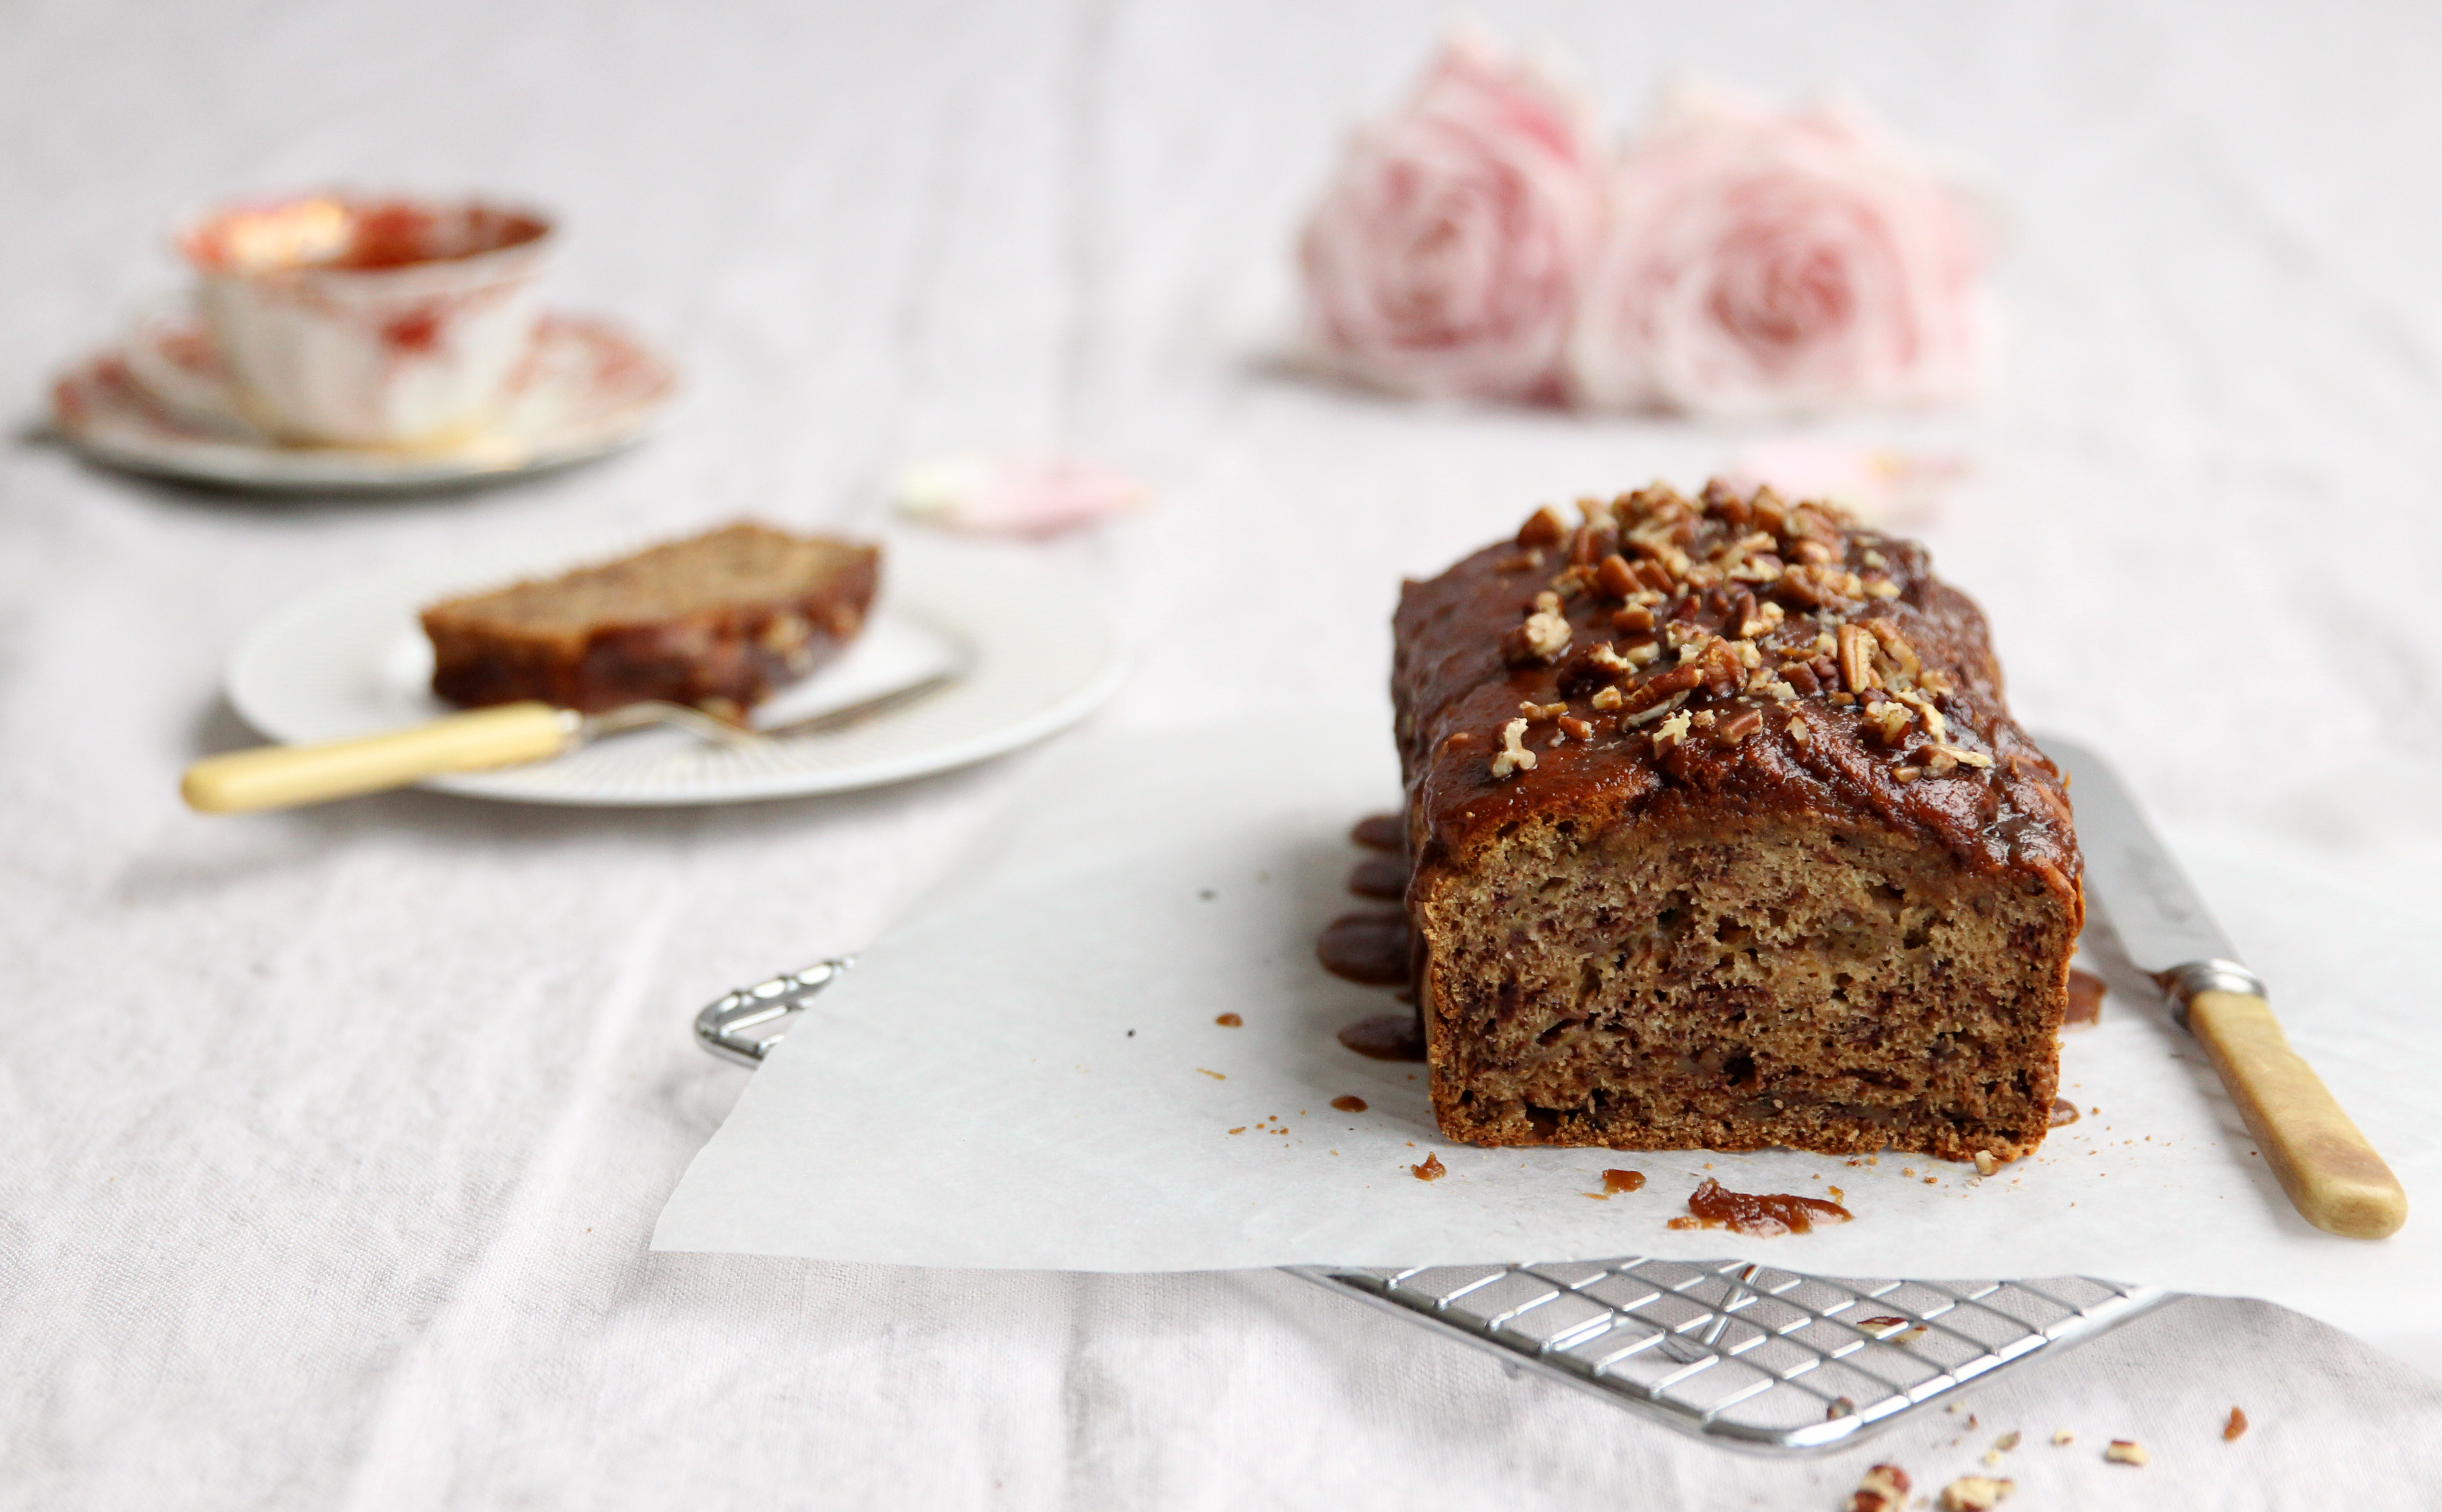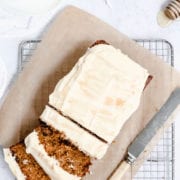
Carrot Cardamom Loaf Cake Recipe with Burnt Honey Cream Cheese Icing
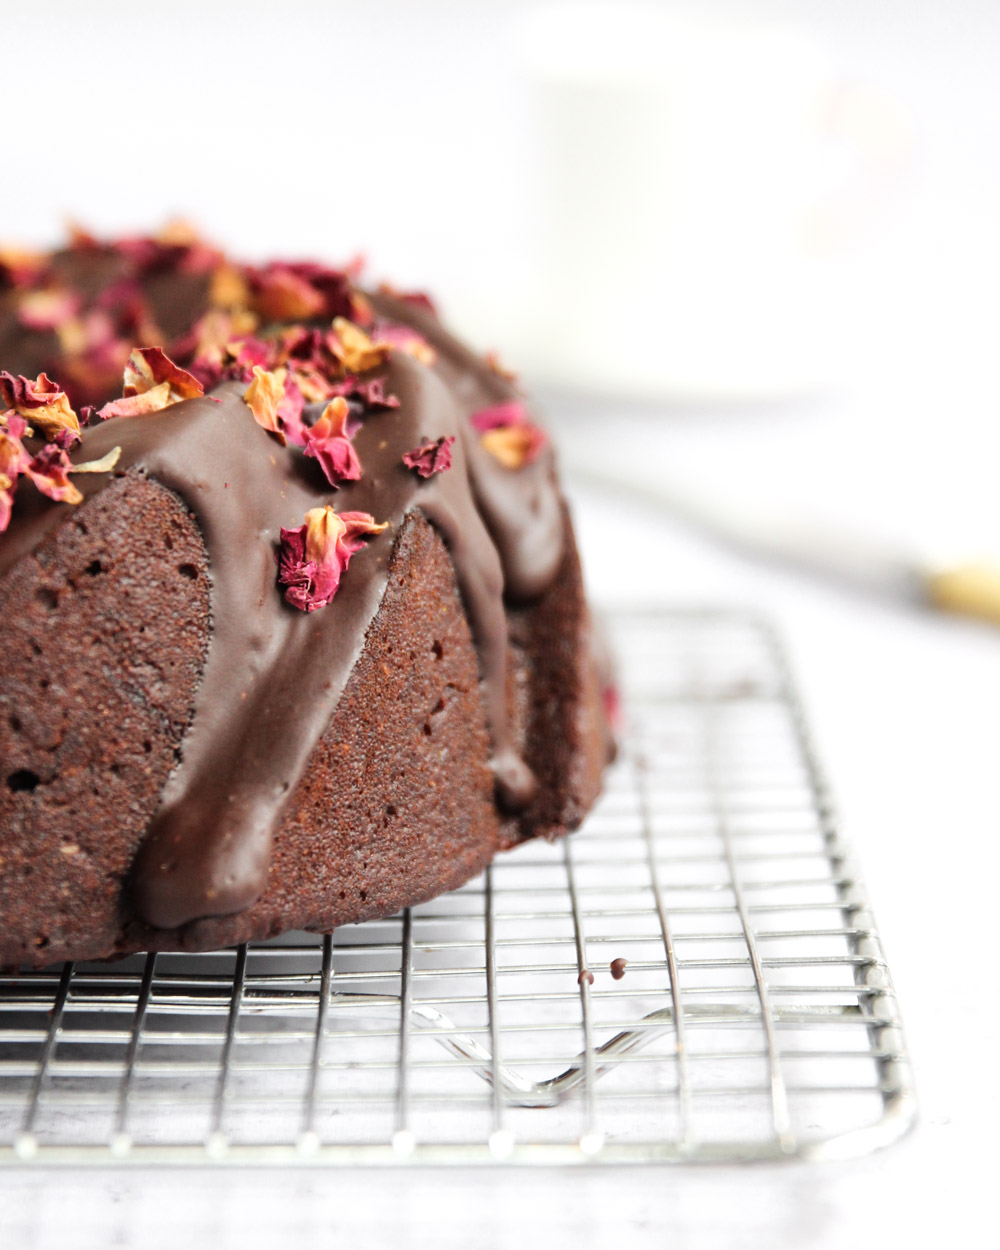
Carrot Cardamom Loaf Cake
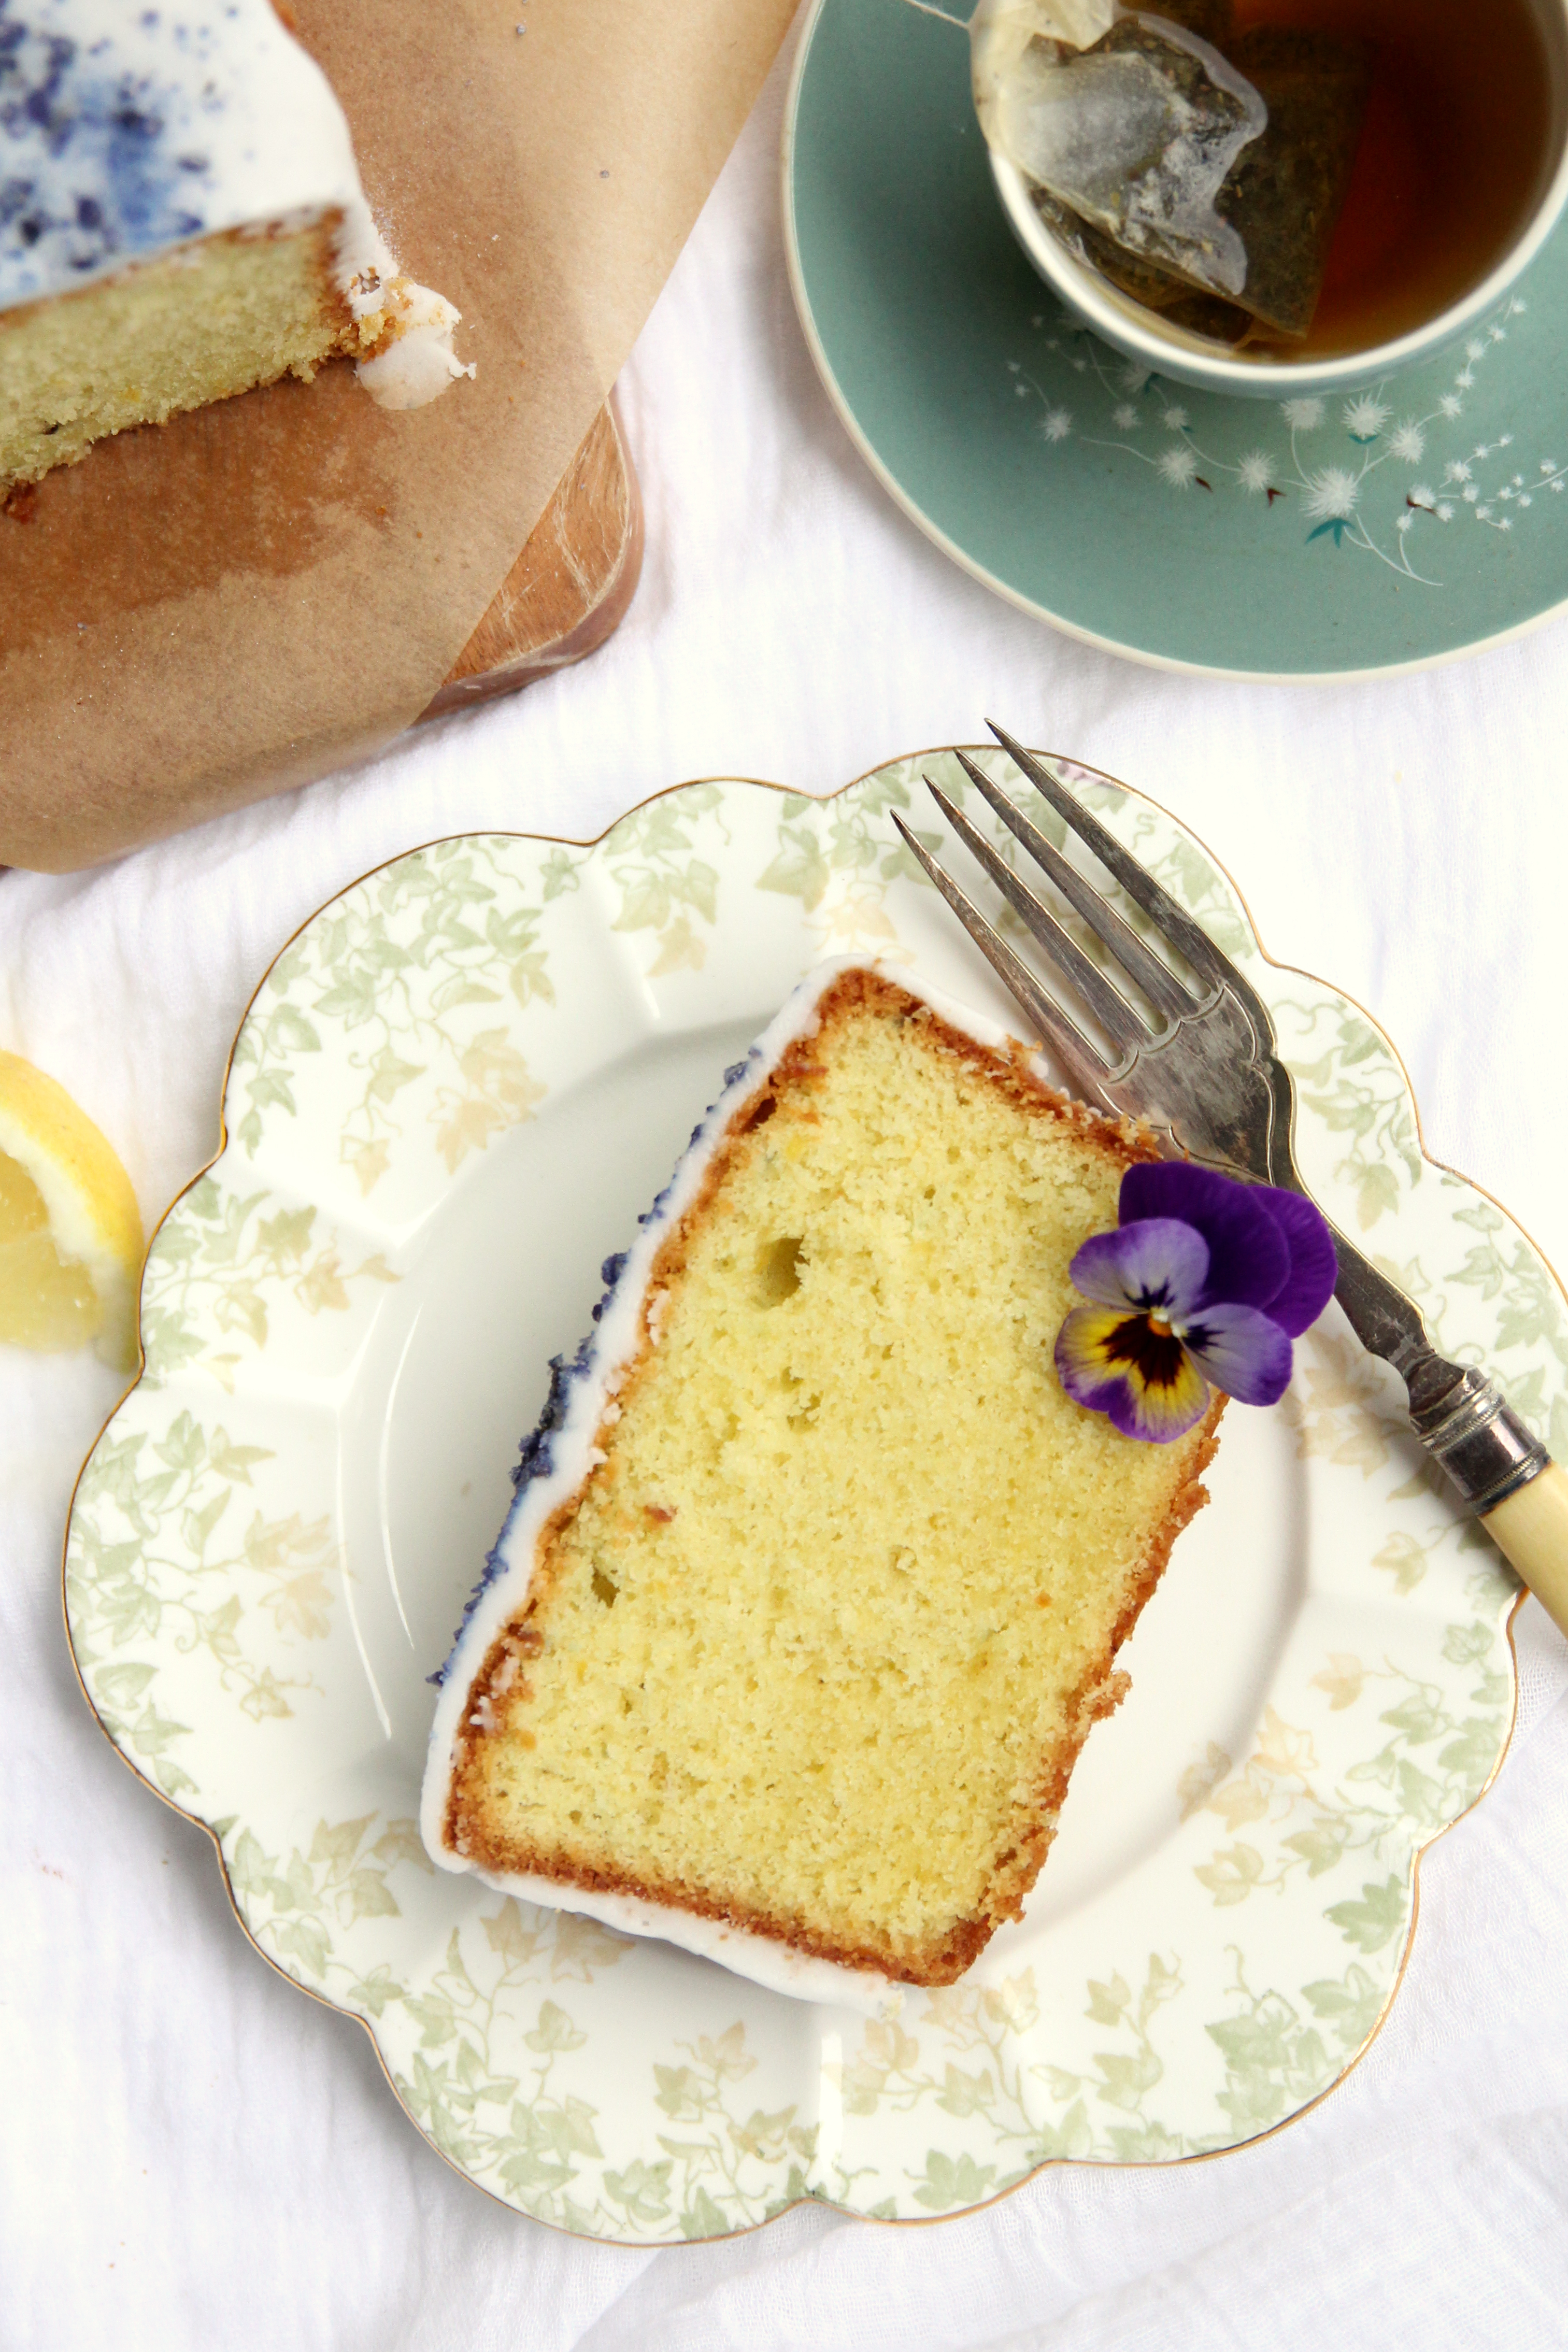
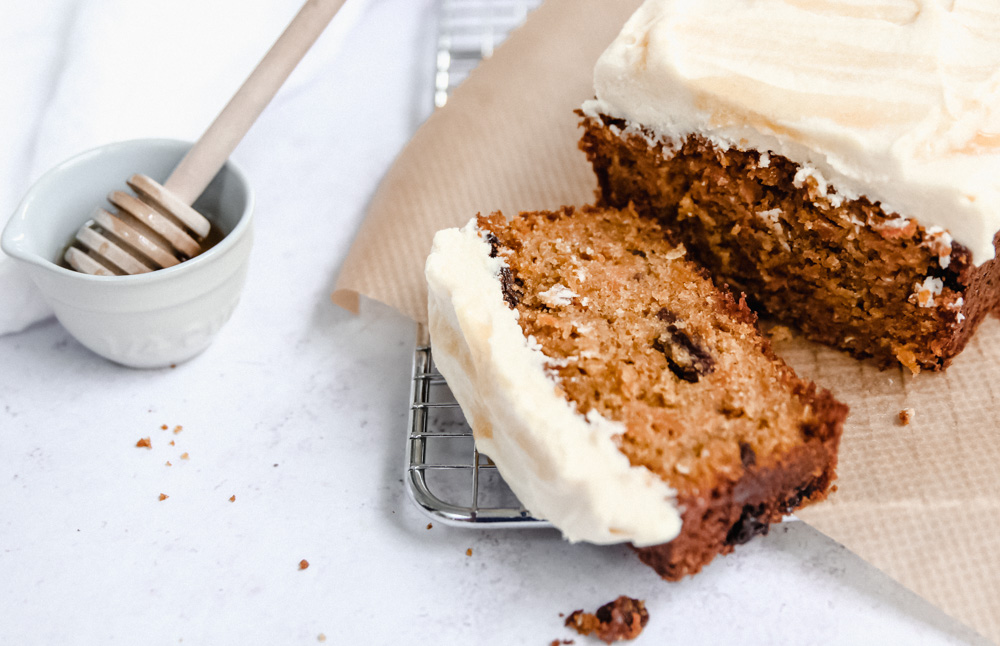
I have always loved carrot cake (I even had it as one tier of our wedding cake!). I tend to nowadays veer towards flavours that are new and interesting but there are times when the classics are called for and comforting. With the global shutdown for coronavirus currently confining us to our homes and lending an air of anxiety to our daily lives, I decided to make a classic carrot loaf cake (with a twist of course!) for an Easter treat.
The Recipe
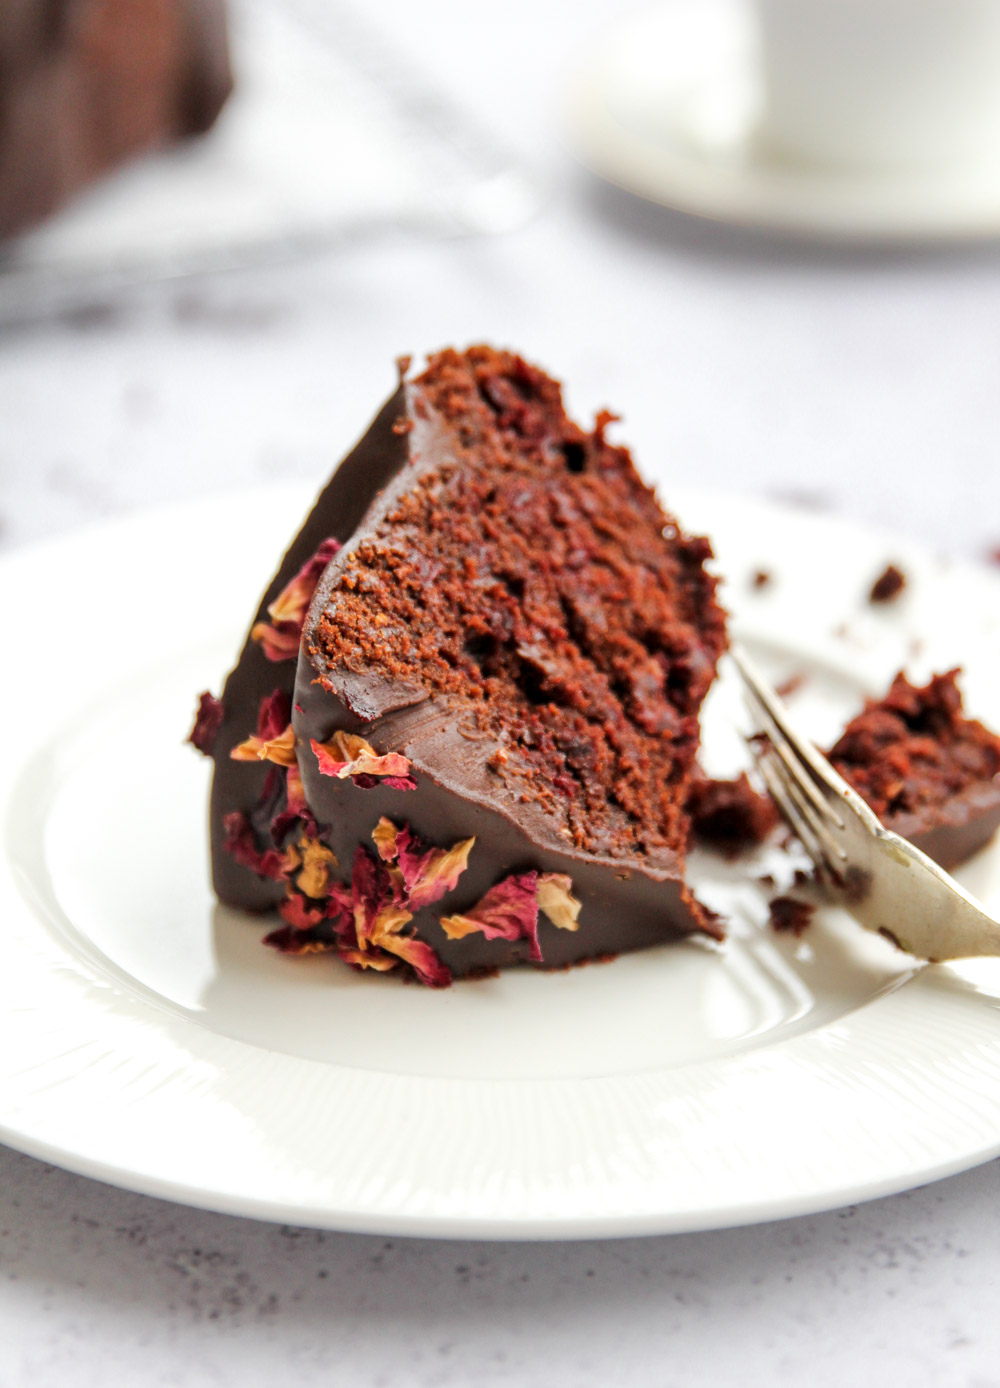
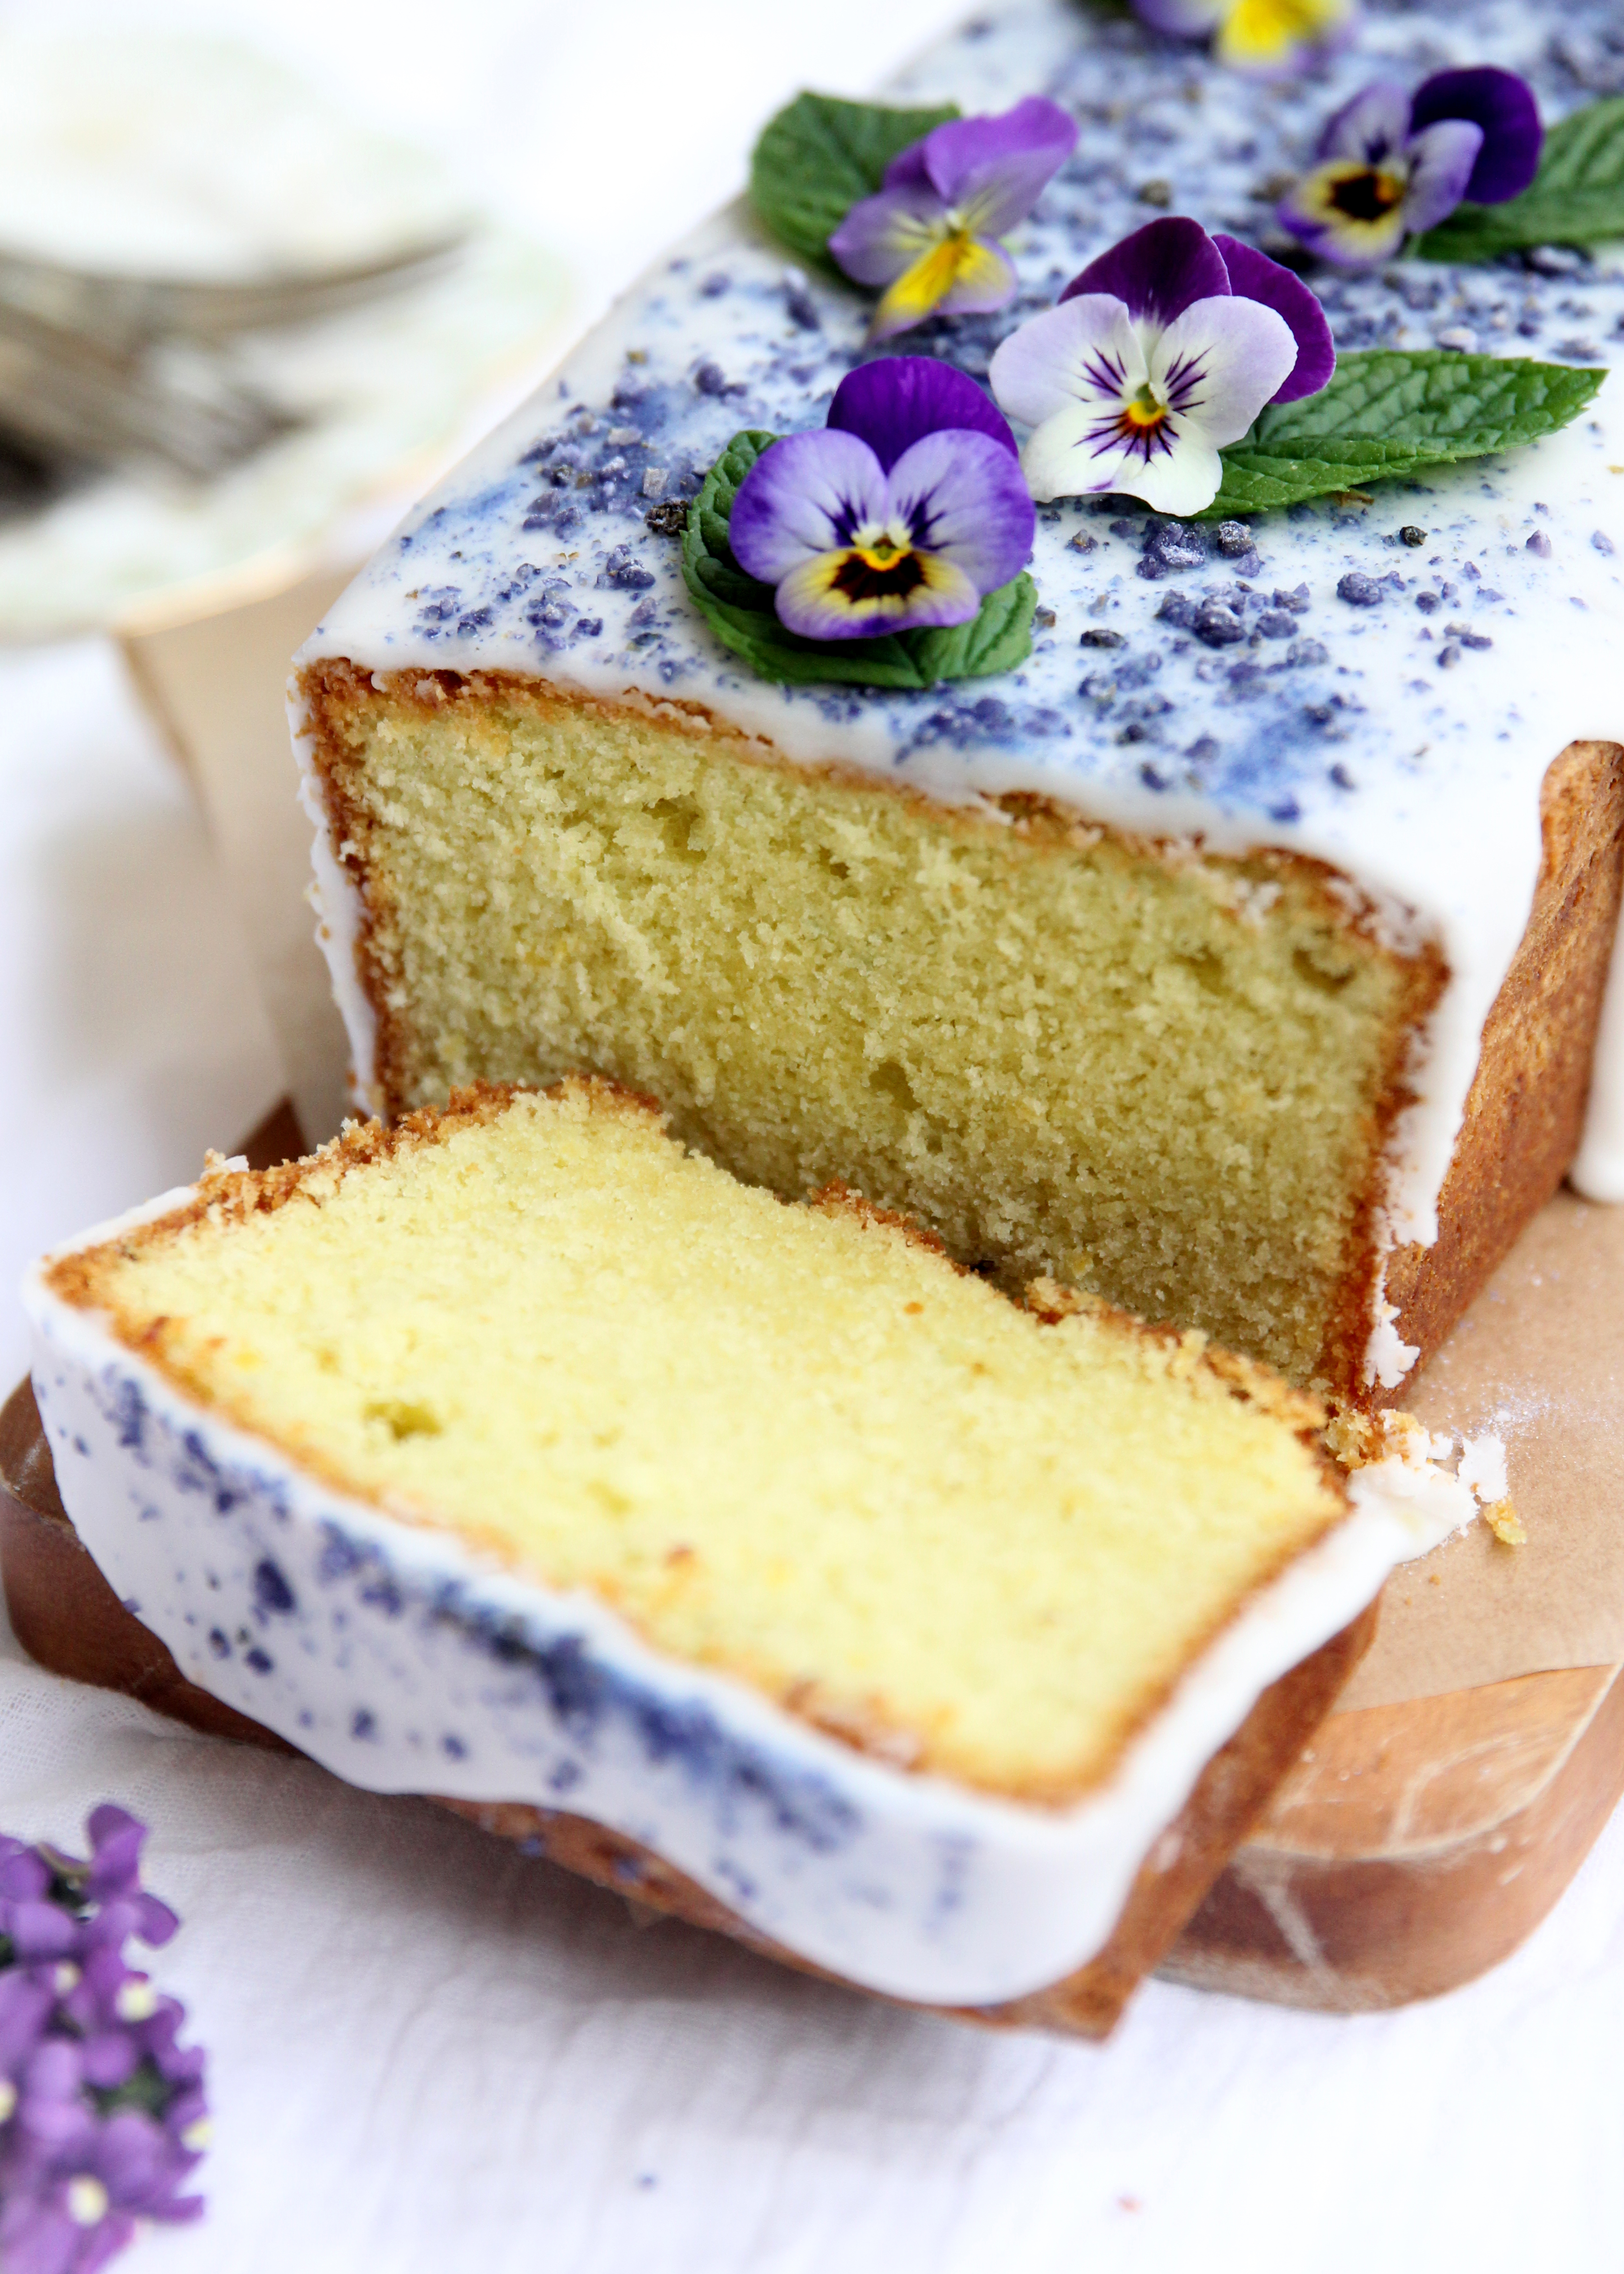
The Carrot Cardamom Cake
The recipe is based on standard carrot loaves, using oil instead of butter and brown sugar for depth of flavour. I used half plain and half wholemeal flour, but all plain flour will work too. I also used a mix of dark soft brown sugar and caster sugar, but for this type of rustic cake I think it is fine to play fast and loose with whatever sugar you have (espeically given the current shopping restrictions too!). Cinnamon and mixed spice are typical additions to carrot cake, but I chose to add some cardamom too for an extra layer of flavour.
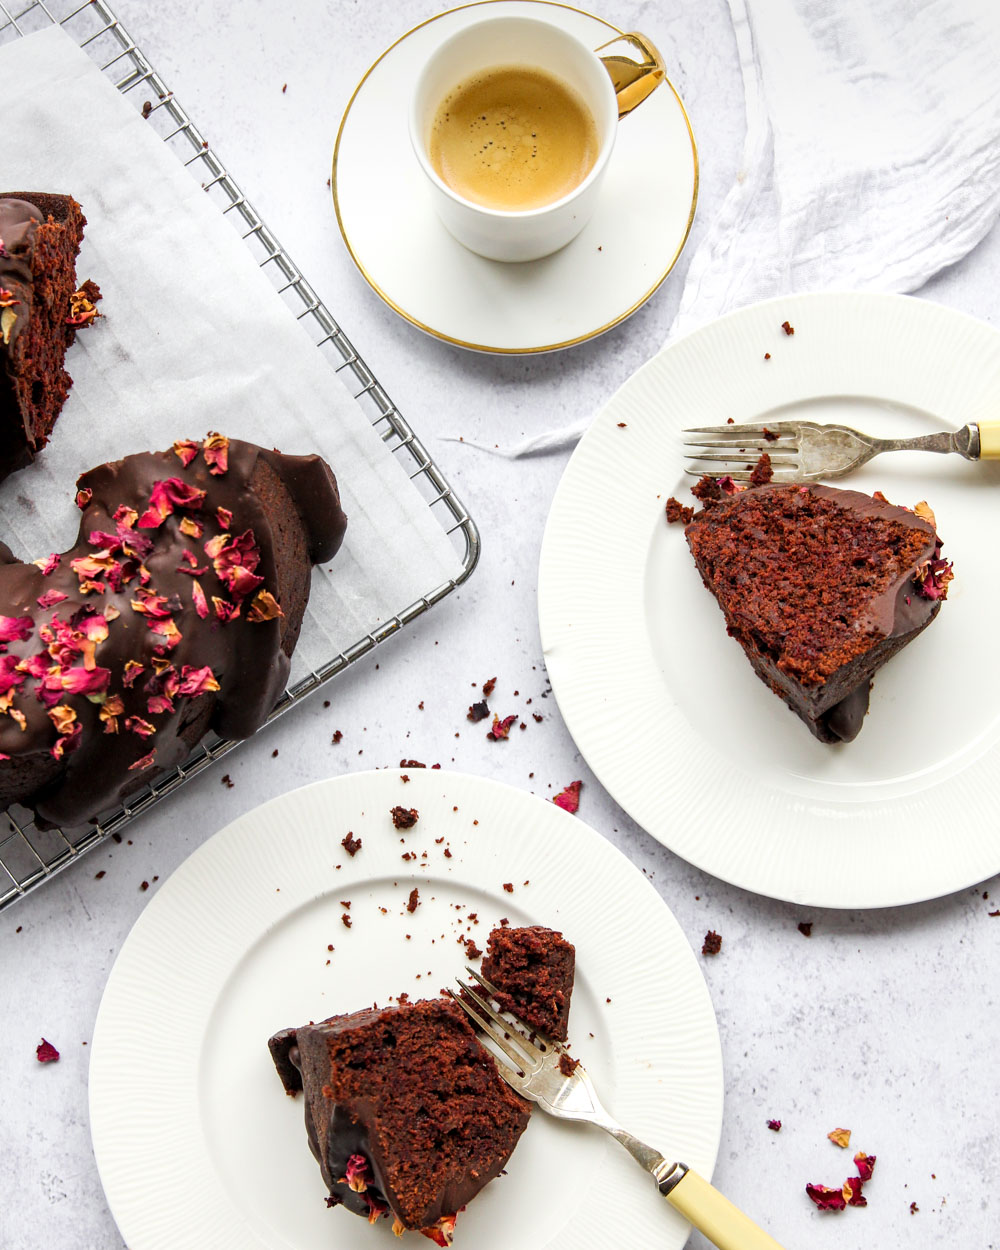
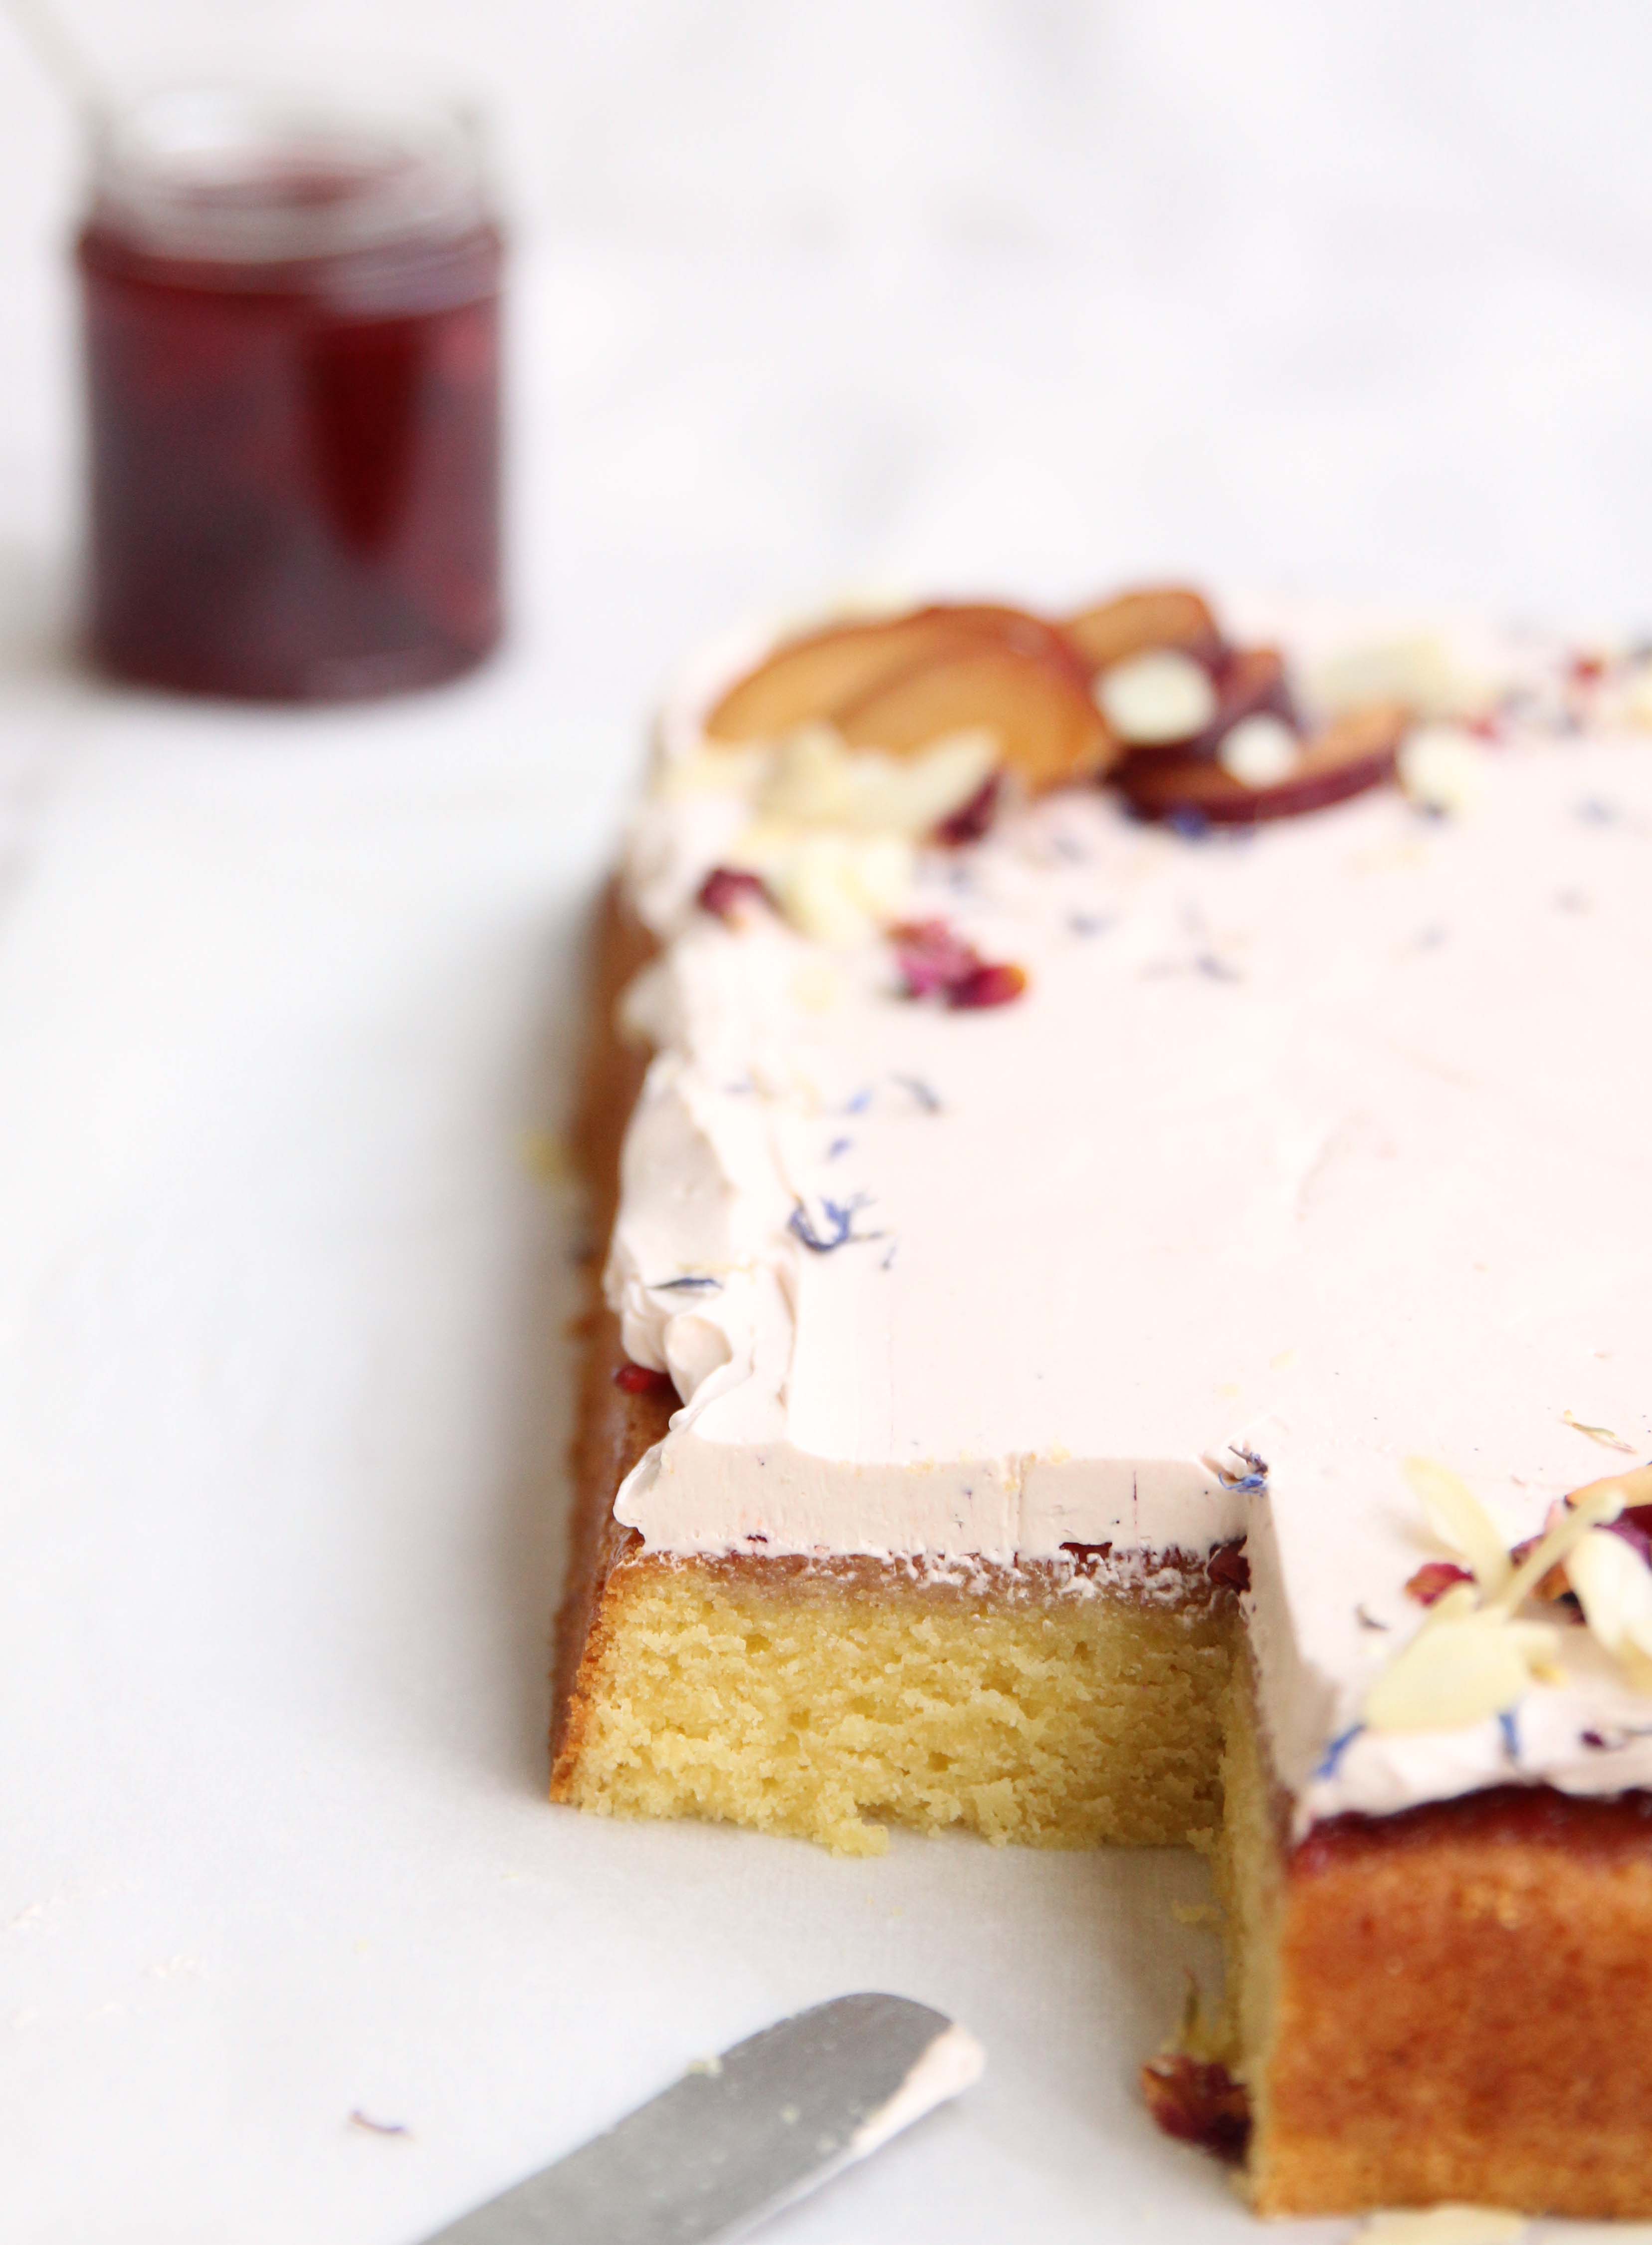
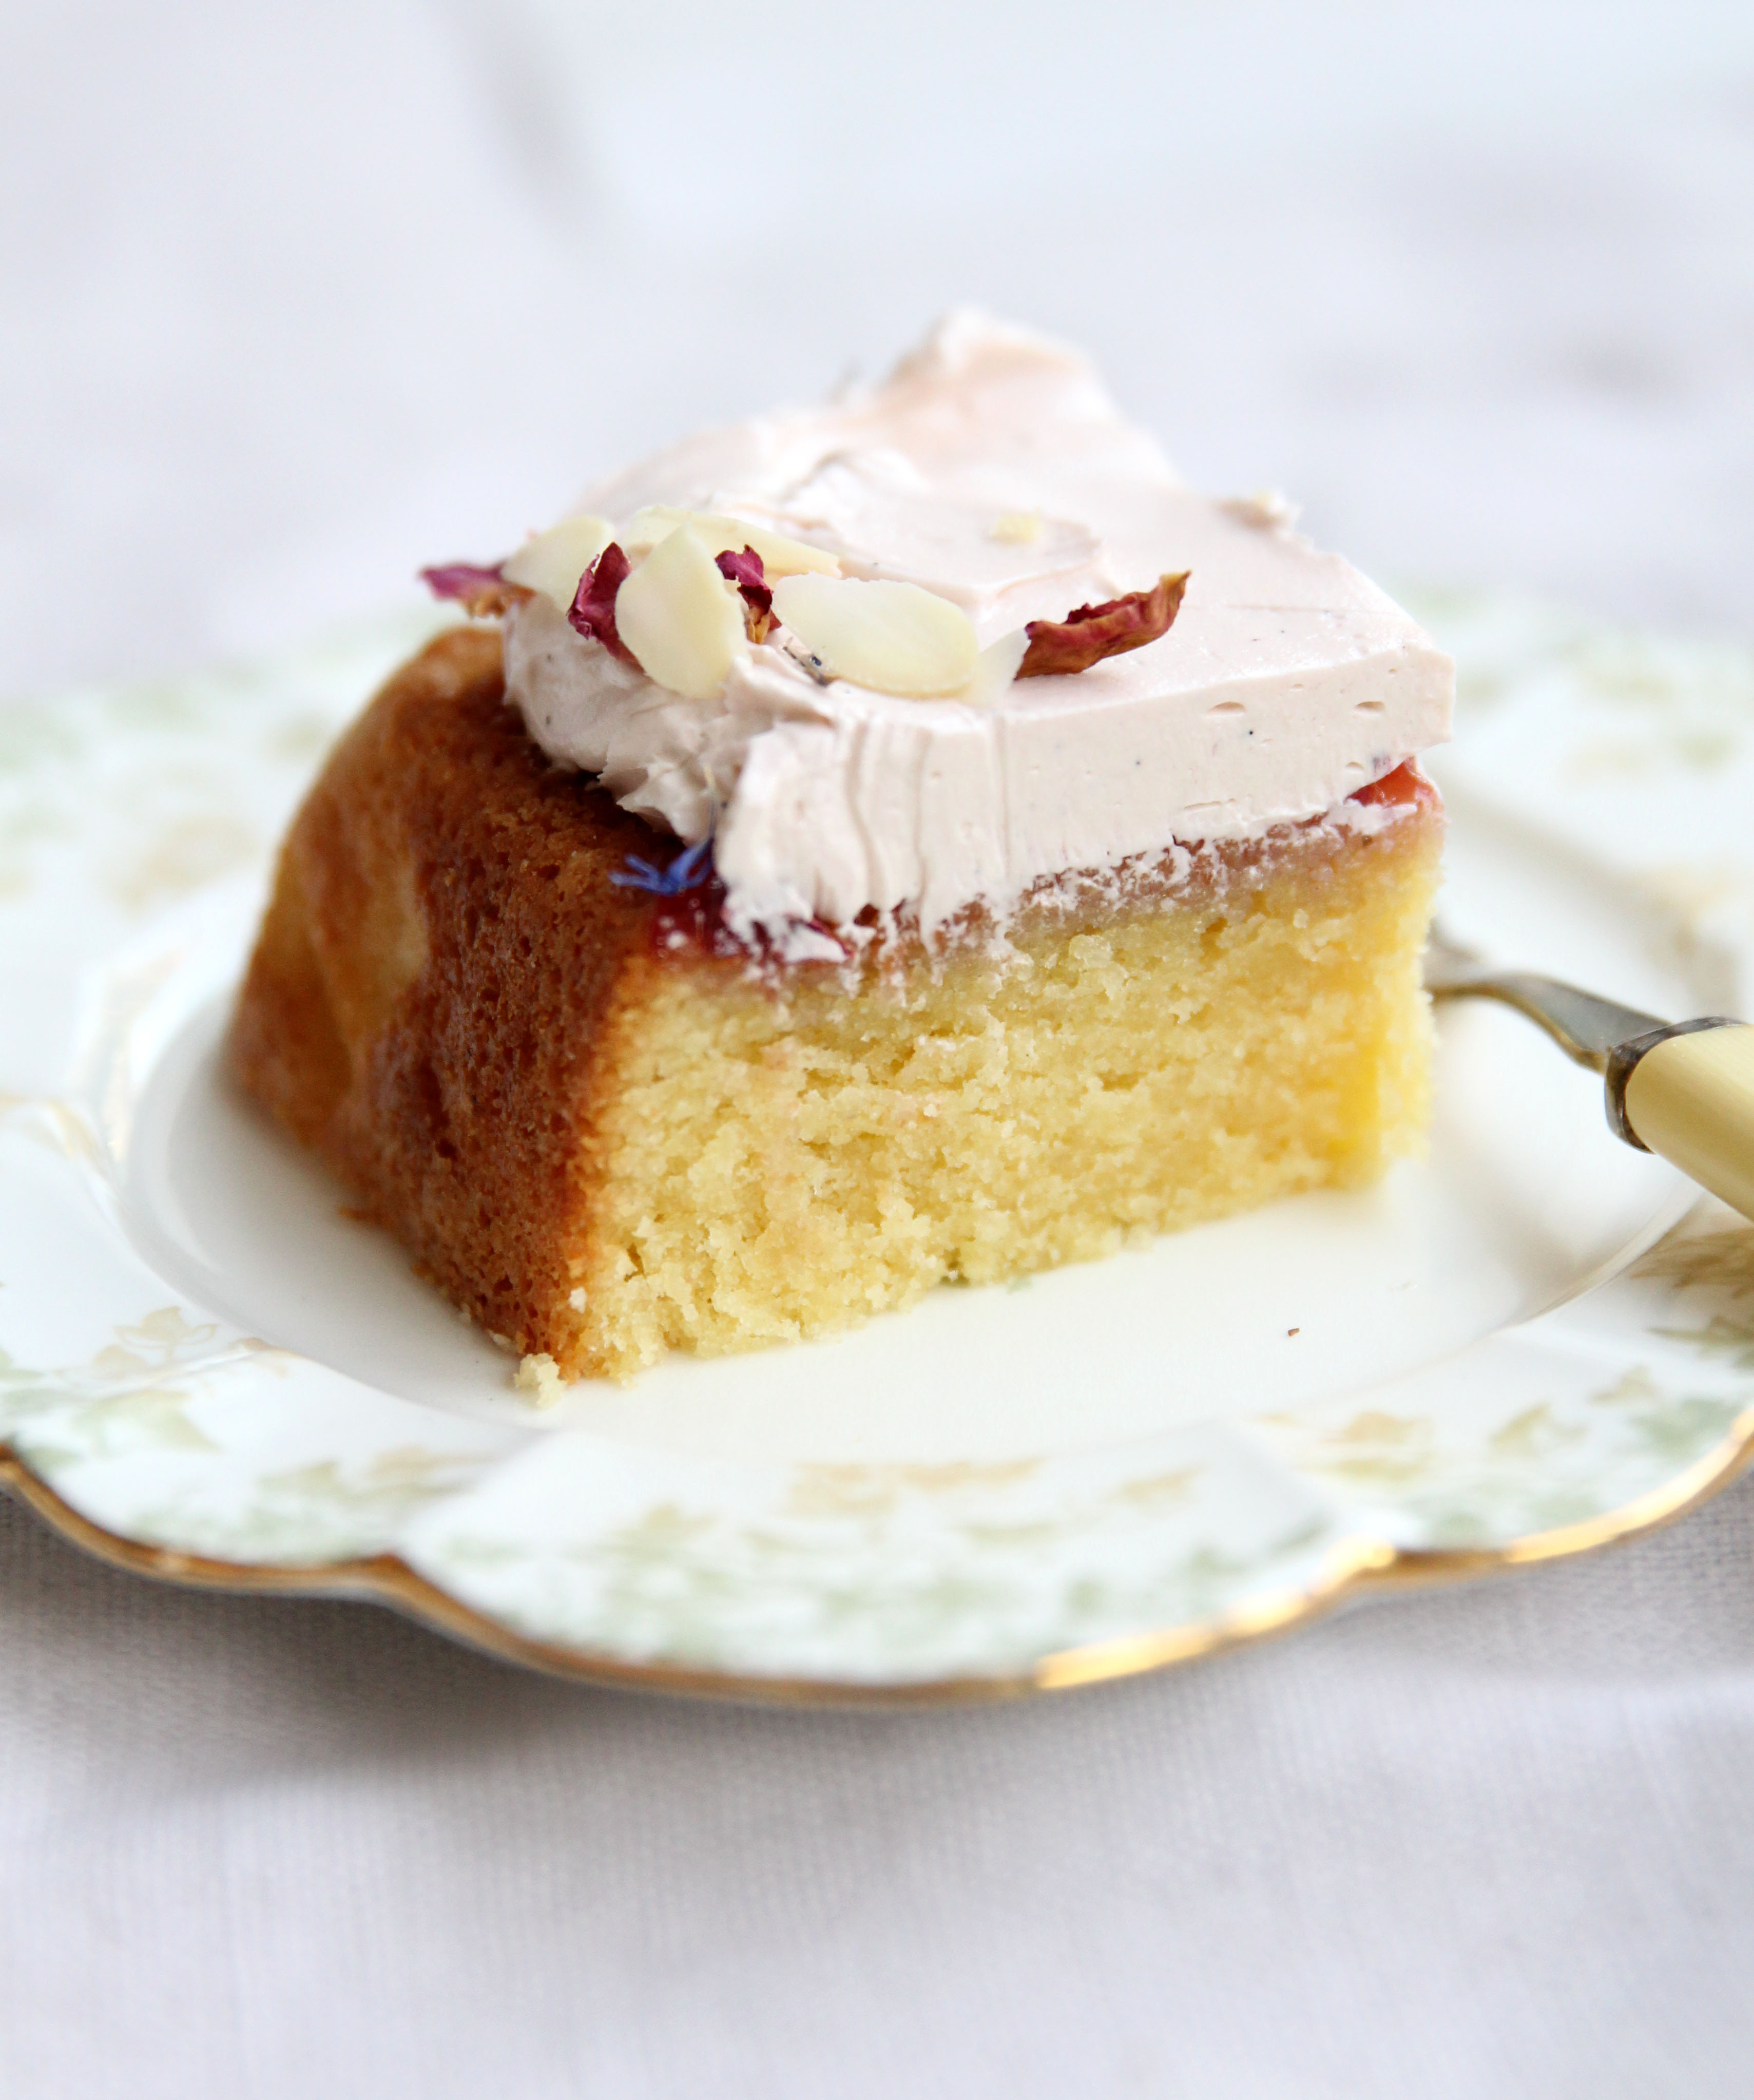
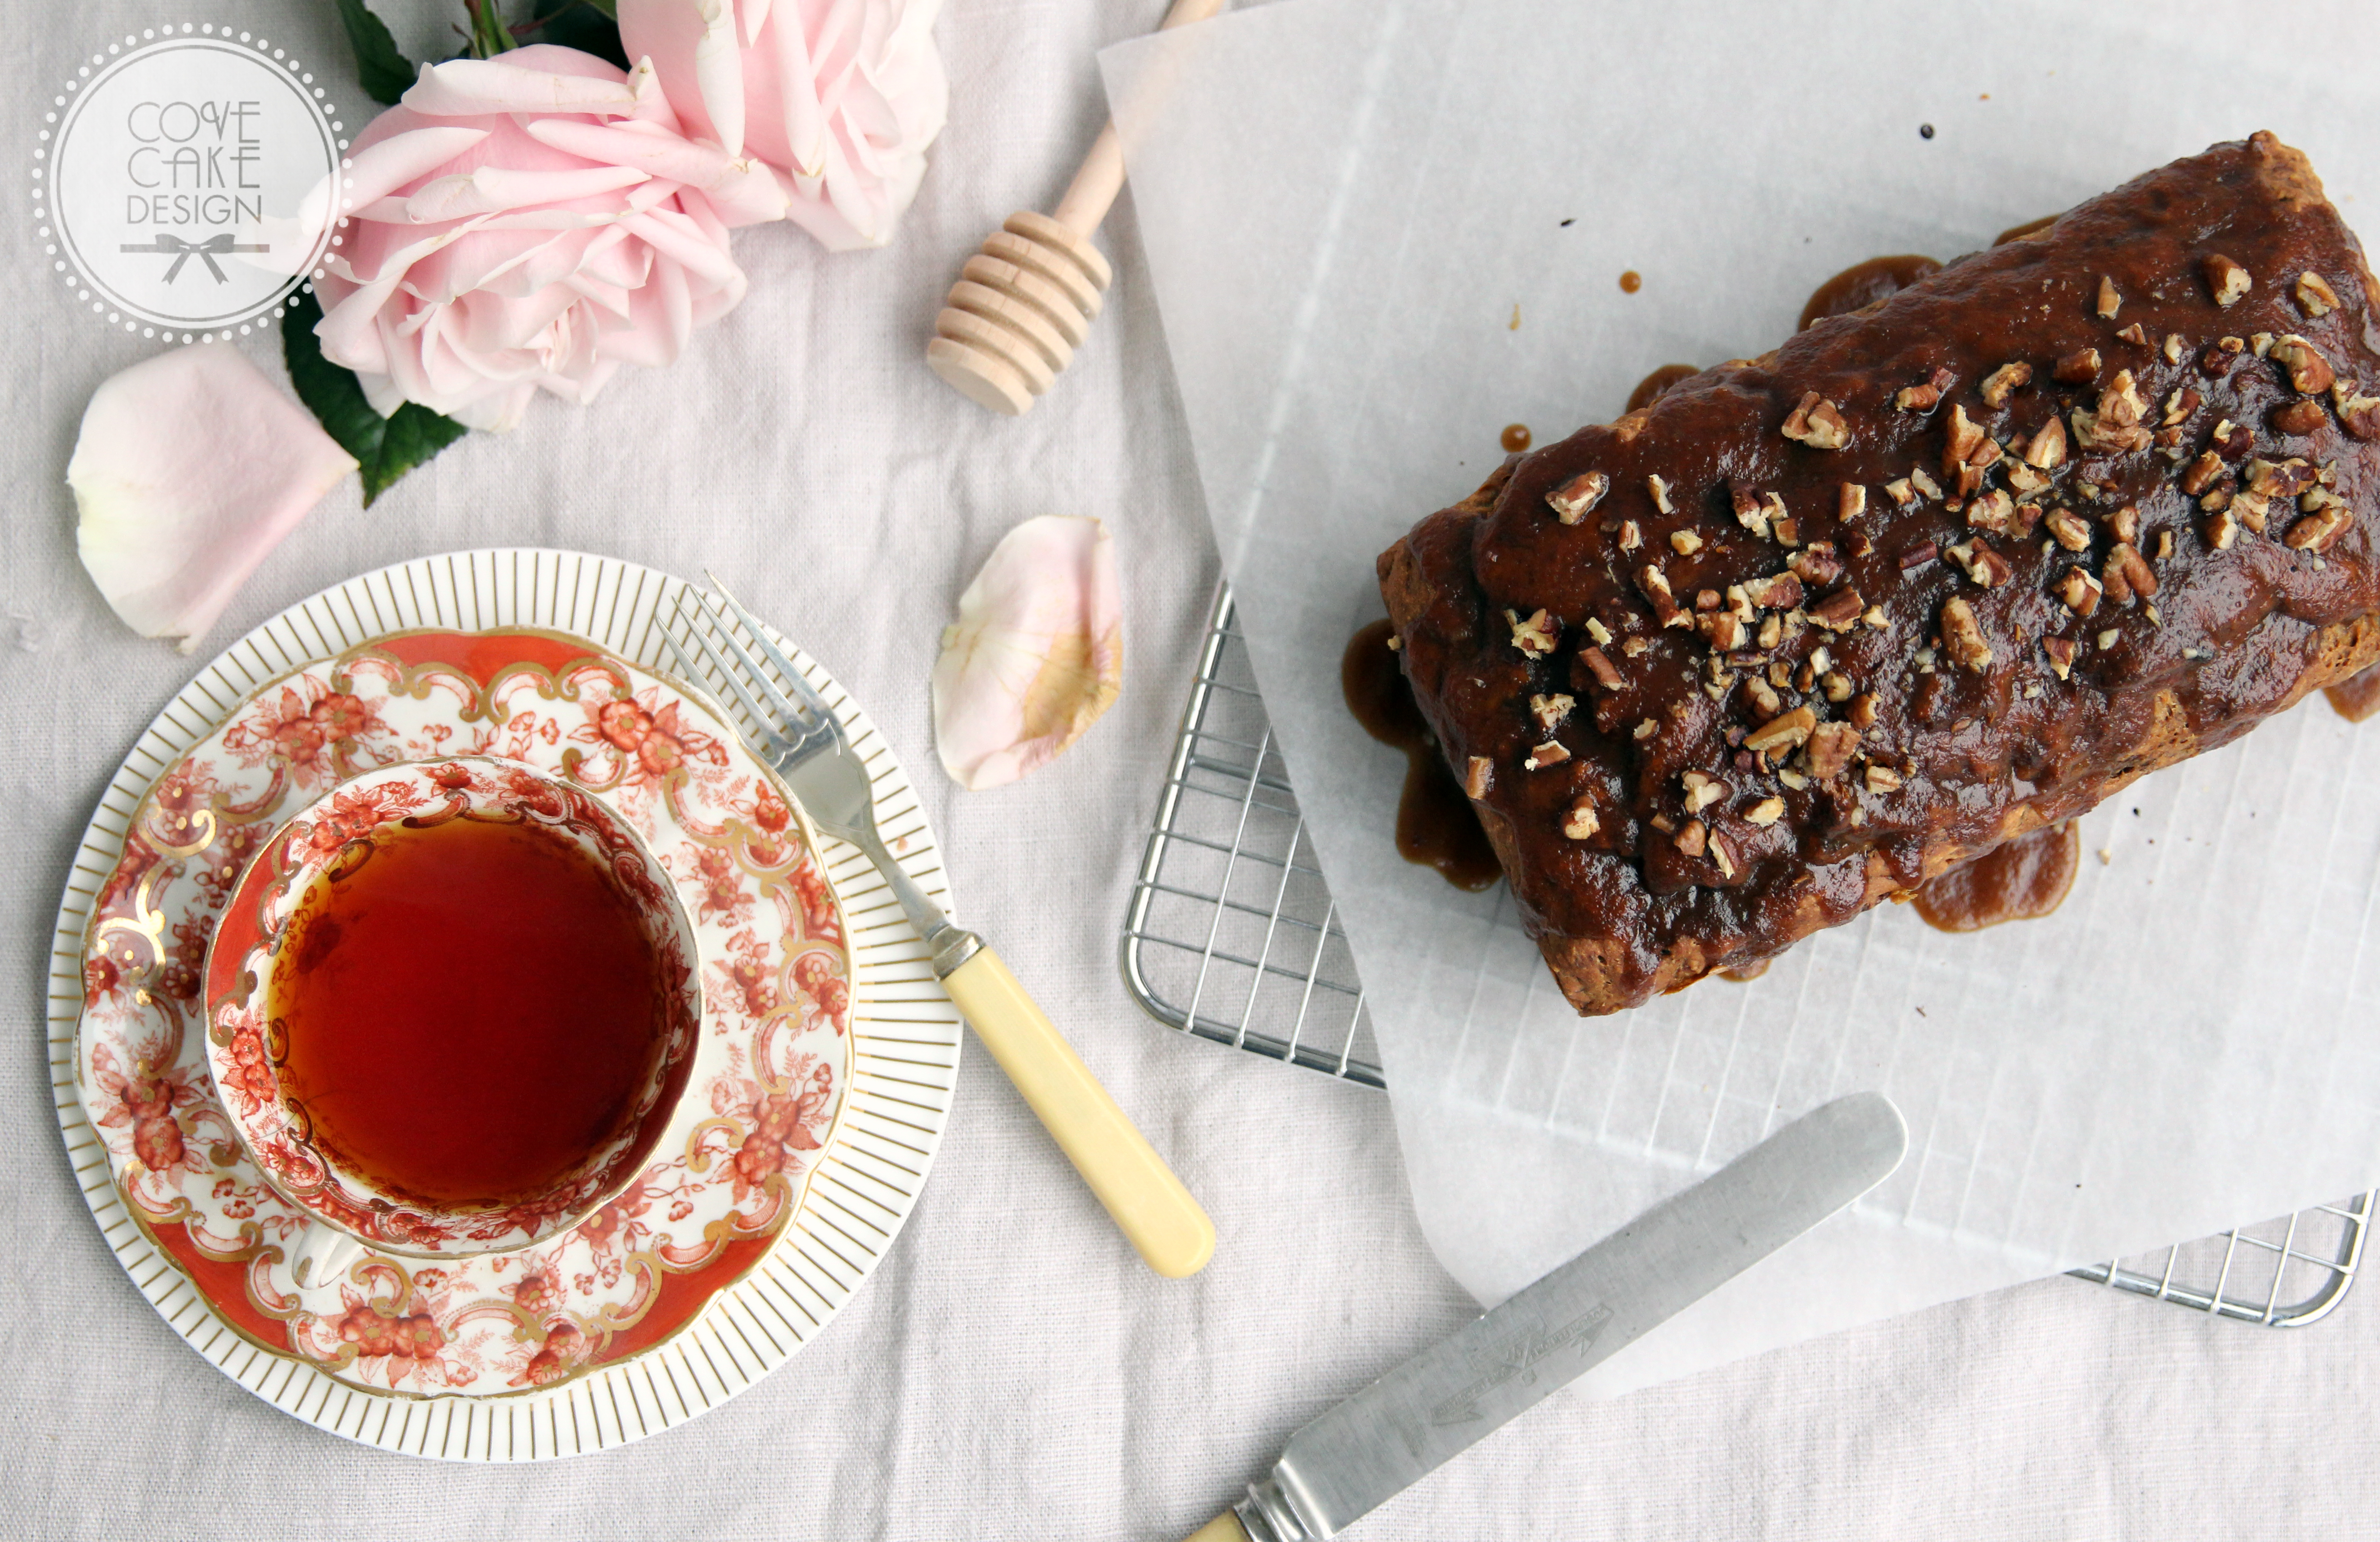
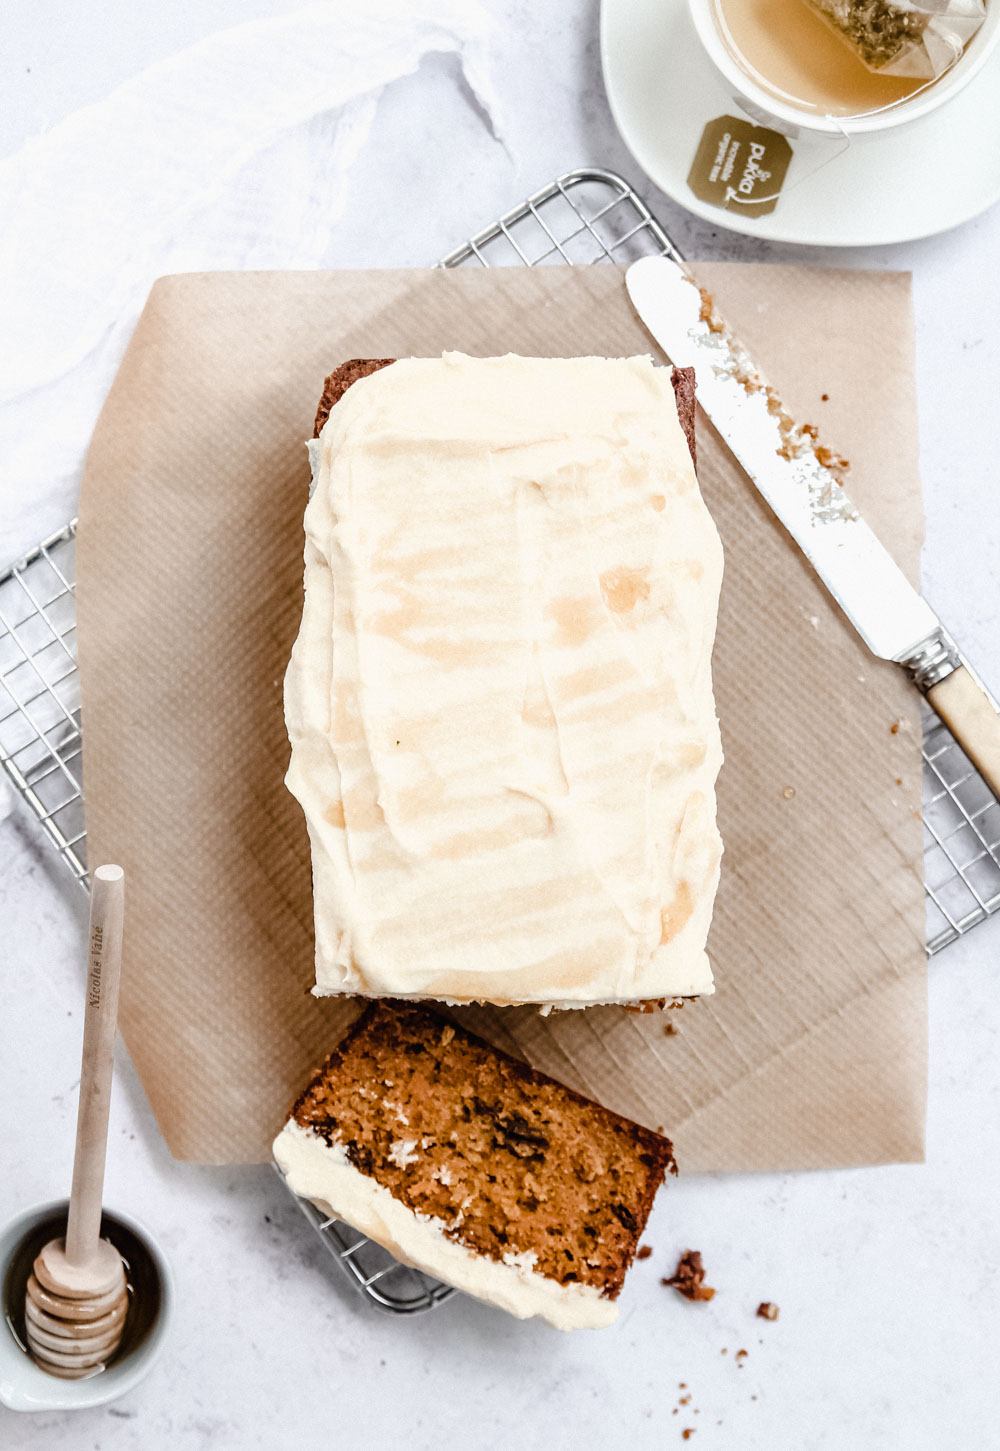
The Burnt Honey Frosting
Burnt honey was something I came across in my browsing of recipes and was a bit of a revelation! If you have a really good honey perhaps with citrus flavour this would work beautifully. I only had a standard honey in my cupboard which is perfectly fine too. The bicarbonate of soda aids in the caramelisation of the honey. The recipe makes extra honey but use this can be kept and used in any recipe or situation you use honey. If you don’t want to make burnt honey a little plain honey or as an alternative some citrus zest would also work well in the icing.
Happy Baking!
Suzanne x
Carrot Cardamom Loaf Cake with Burnt Honey Cream Cheese Icing Recipe
Ingredients for the Cake:
- 150ml rapeseed oil (or other oil), plus extra for greasing
- 2 free range eggs
- 100g dark soft brown sugar
- 100g caster sugar
- 300g grated carrot
- 90g plain flour
- 90g wholemeal flour
- 1tsp baking powder
- 1/2 tsp bicarbonate soda
- Pinch salt
- 1tsp cinnamon
- 1tsp ground cardamom
- 1tsp mixed spice
Ingredients for Burnt honey:
- 120ml honey
- 1/8 tsp bicarbonate soda
- 30mls water
For the Cream Cheese Icing :
- 50g butter
- 50g icing sugar
- 180g tub cream cheese
- 3-4 tbsp burnt honey plus extra for drizzling
Method:
- To make the cake, preheat the oven to 160°C/320F. Grease a loaf tin with some oil and line with baking parchment.
- Place the grated carrot, rapeseed oil, eggs and sugars into a large bowl and whisk to combine. .
- In a separate bowl, sift together the flours, baking powder, baking soda, spices and salt.
- Pour the dry ingredients into the carrot mixture and stir well to combine.
- Pour the mixture into the loaf tin.
- Bake for approx 60mins, until a skewer inserted into centre comes out clean.
- Leave the tin to cool for 10mins before turning out onto a wire wrack to cool completely.
- To make the burnt honey, heat the honey in a small saucepan over a medium heat until it starts to bubble and turn a darker brown colour. Reduce heat to low and gently add they tiny amount of bicarbonate soda. Be careful as it will bubbble. Stir using a wooden spoon. Remove from heat and add the water, stirring to combine. Set aside to cool.
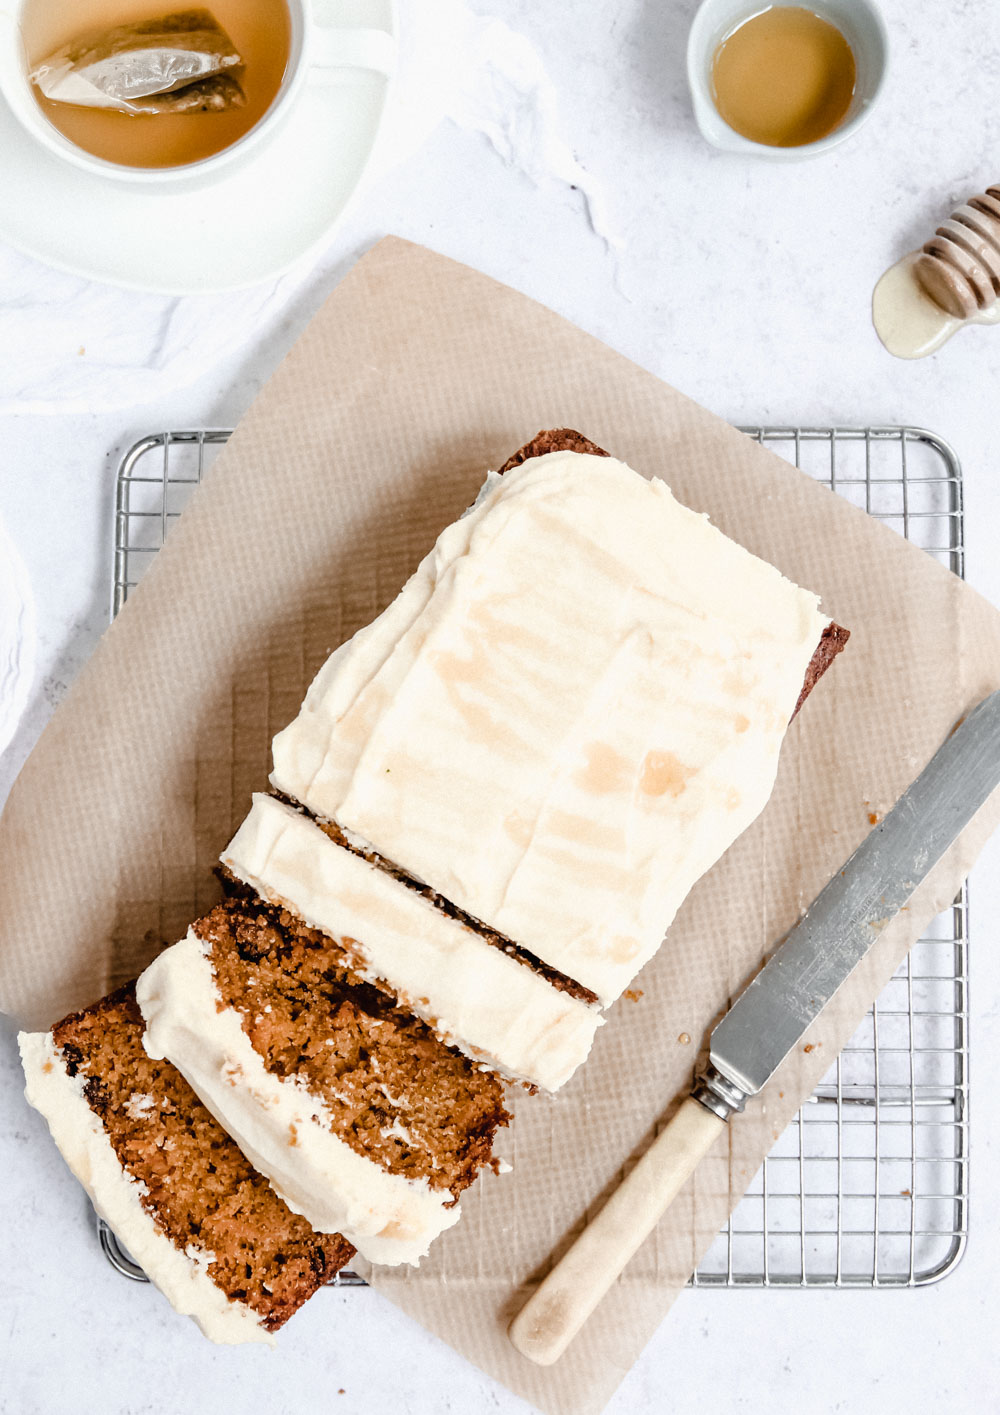
- To make the icing, beat the butter and icing sugar together in a stand mixer. Add the cream cheese and beat again. Finally add burnt honey to taste.
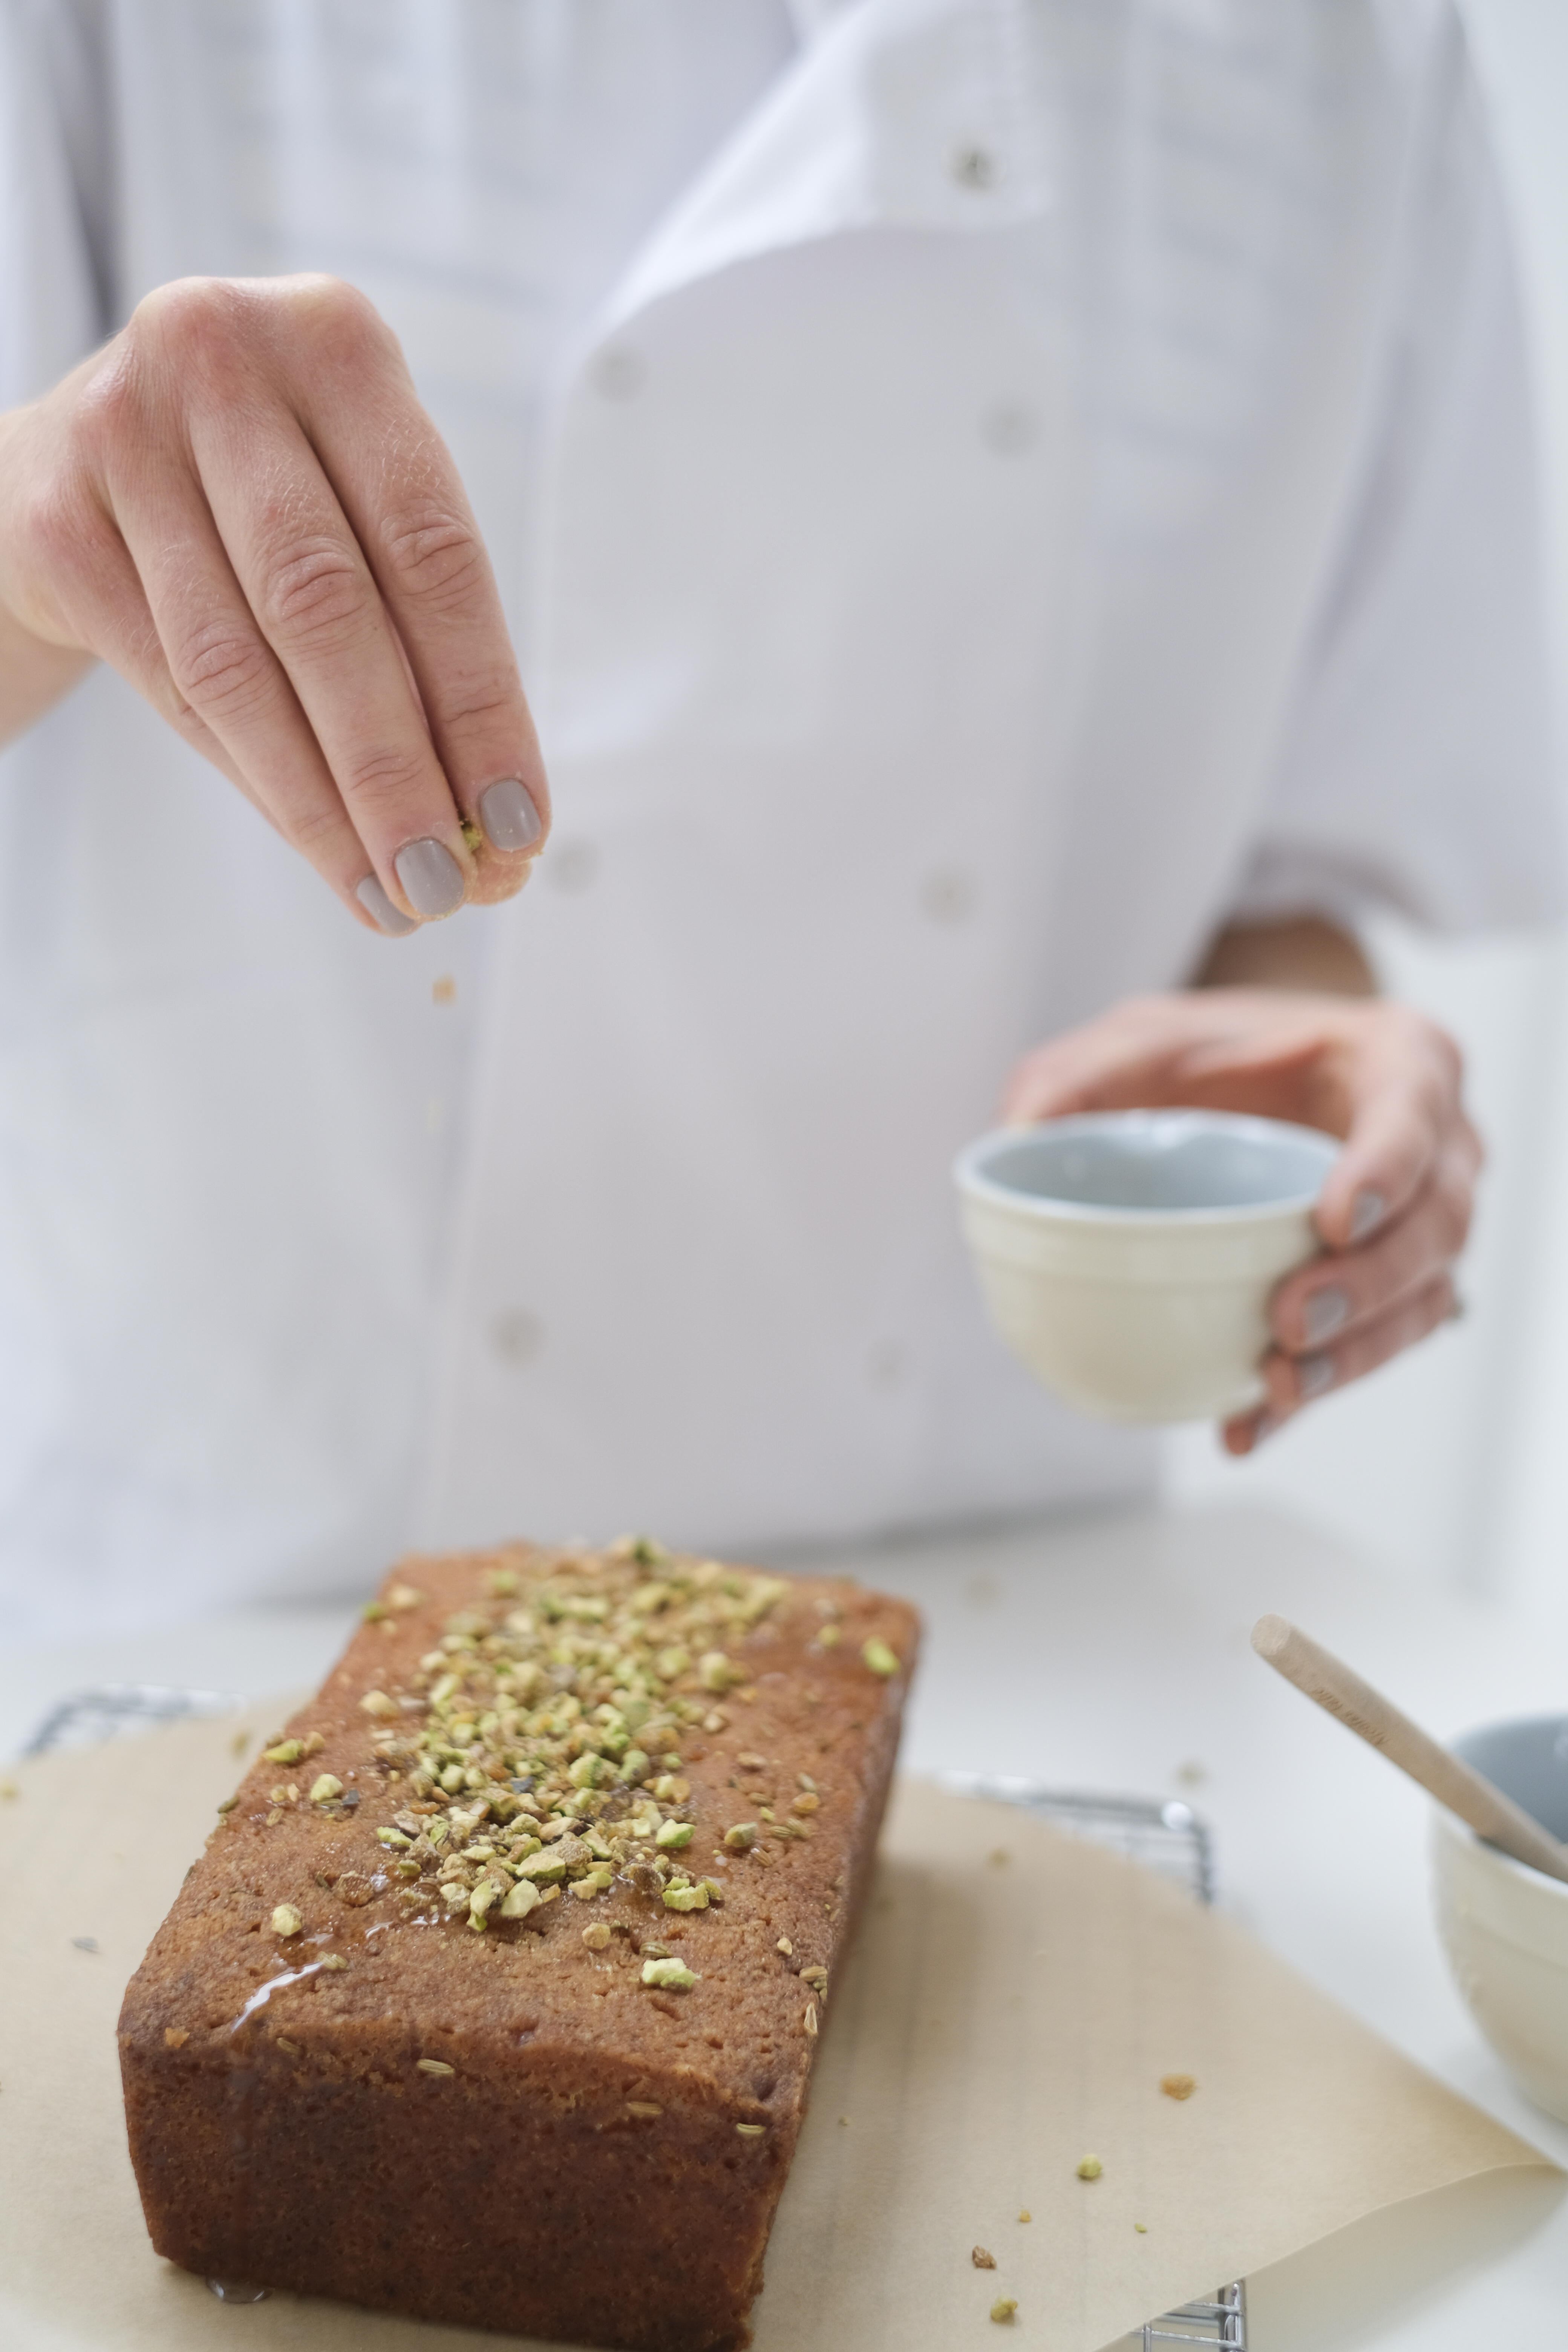
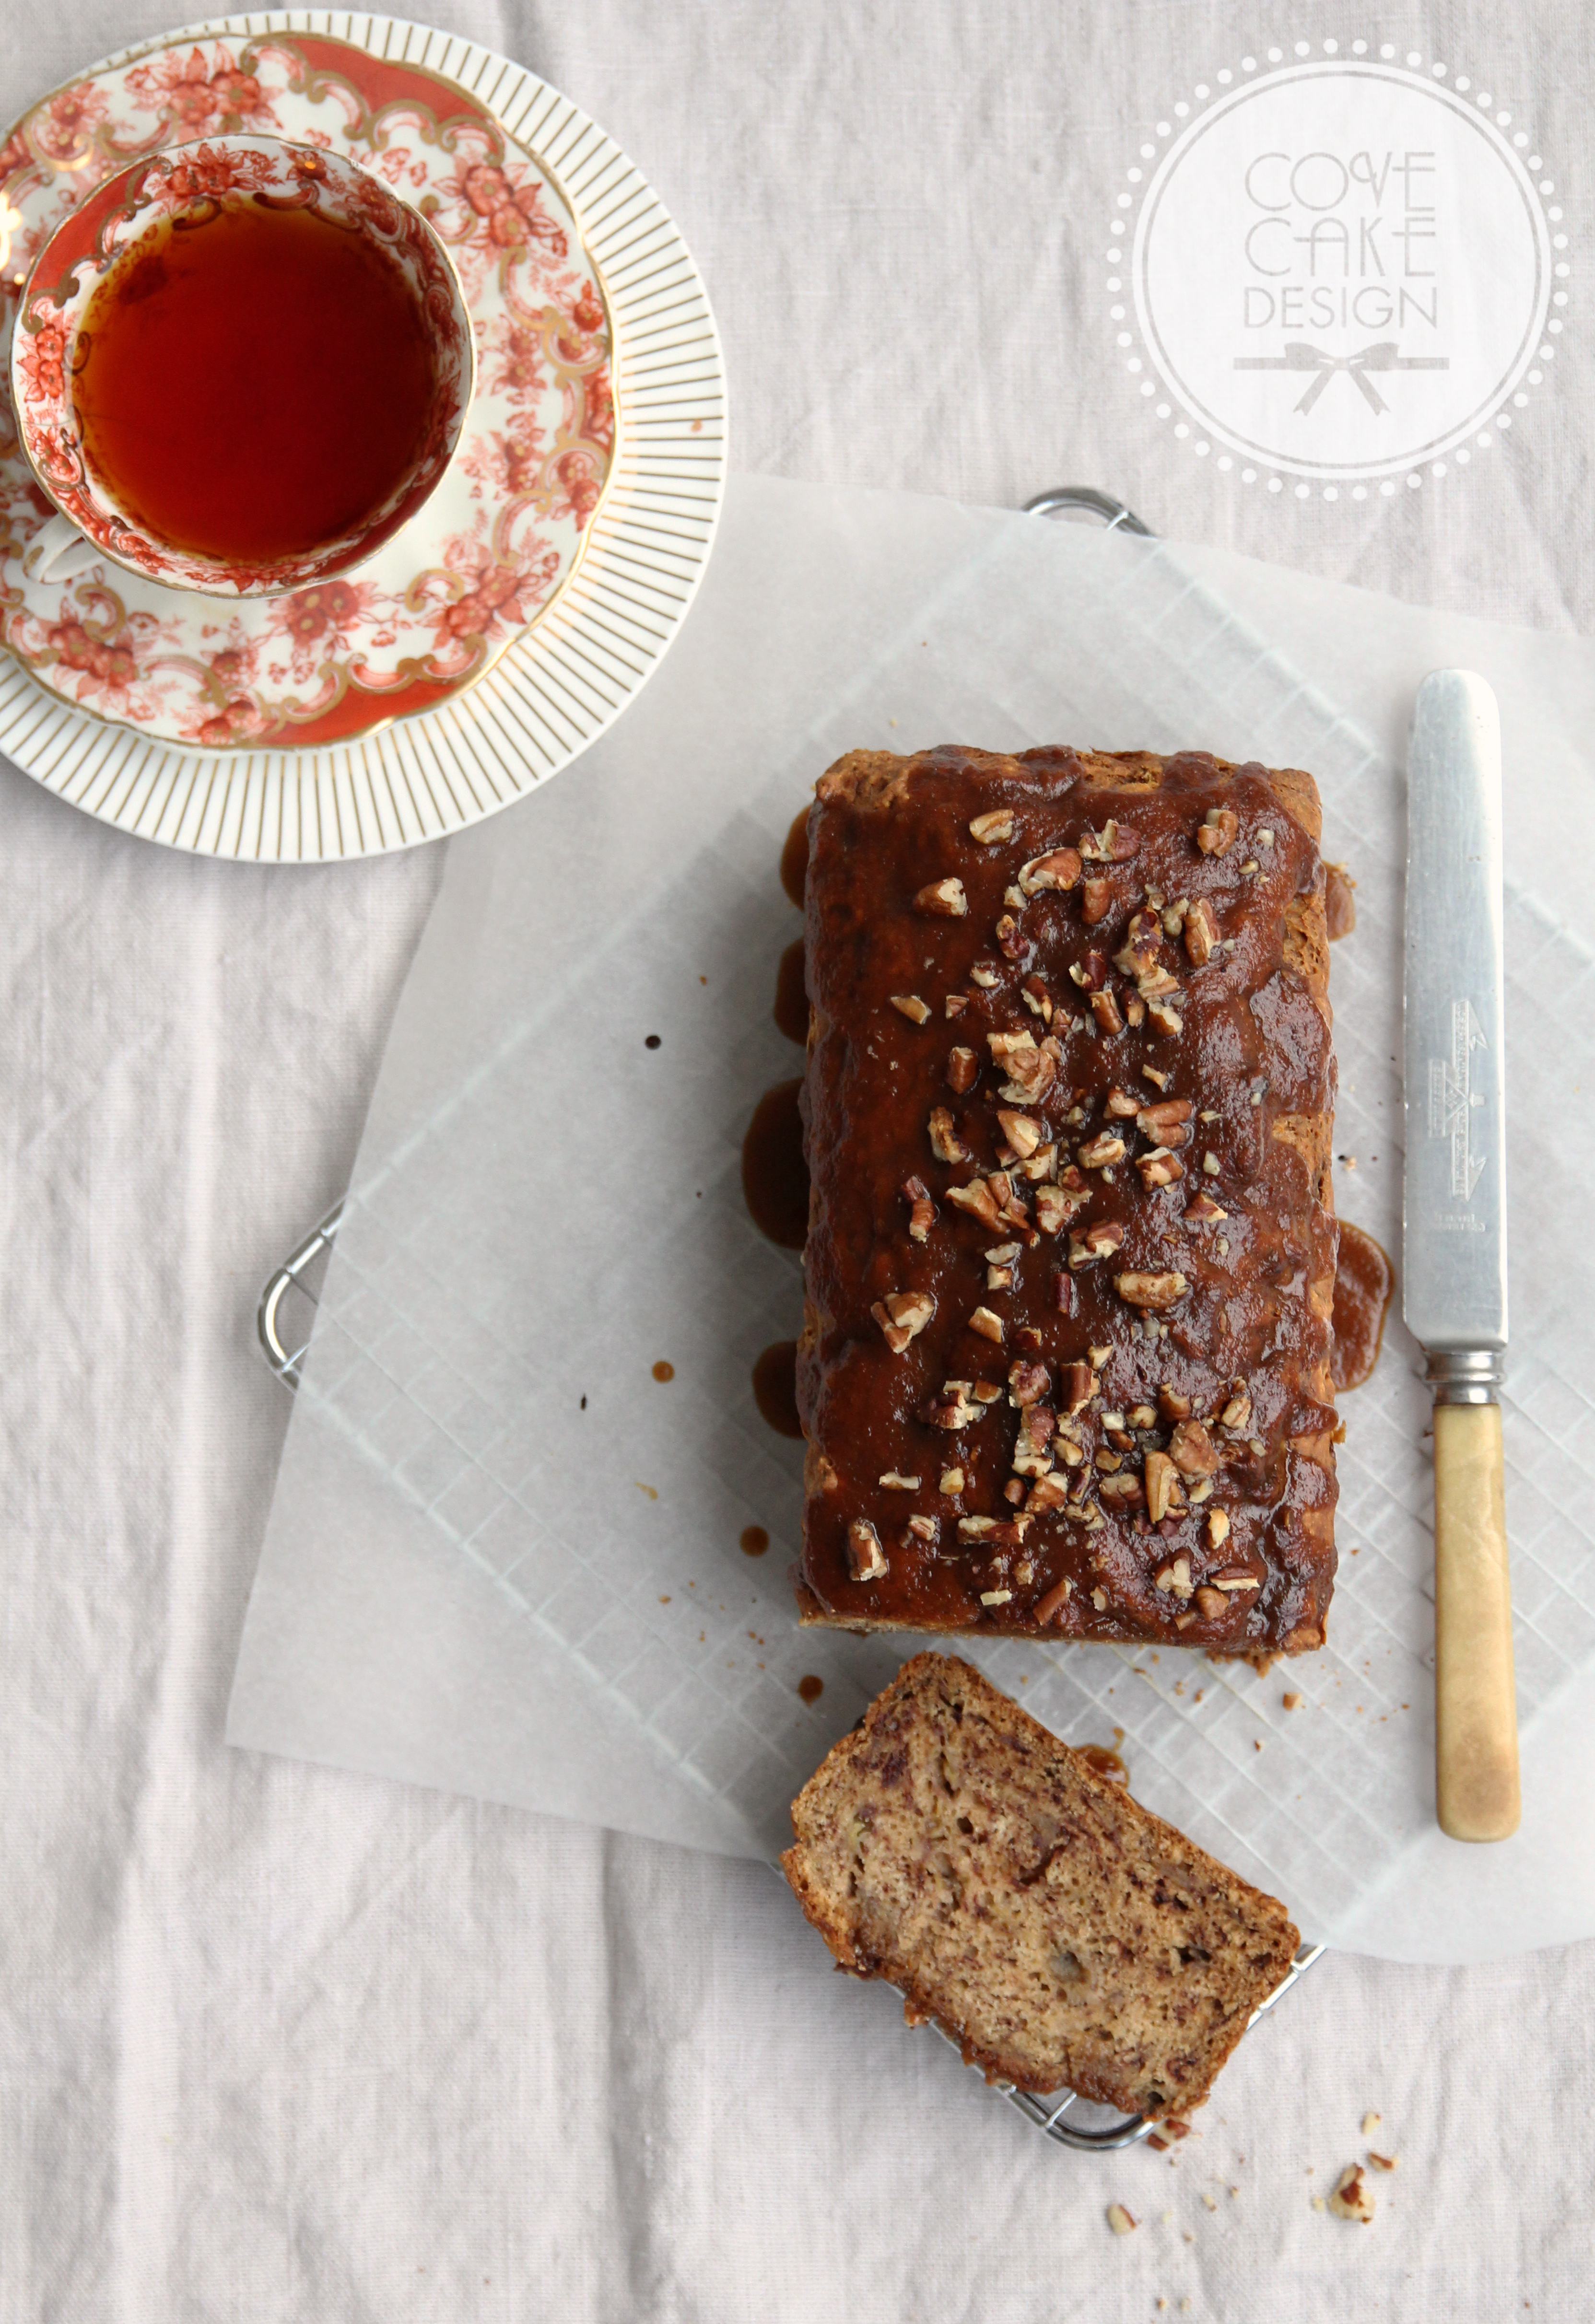
- Once the cake is cool, spread with the icing and drizzle extra honey over the top.
- As this cake has a cream cheese icing store in the fridge.