Tag Archive for: macaron recipe

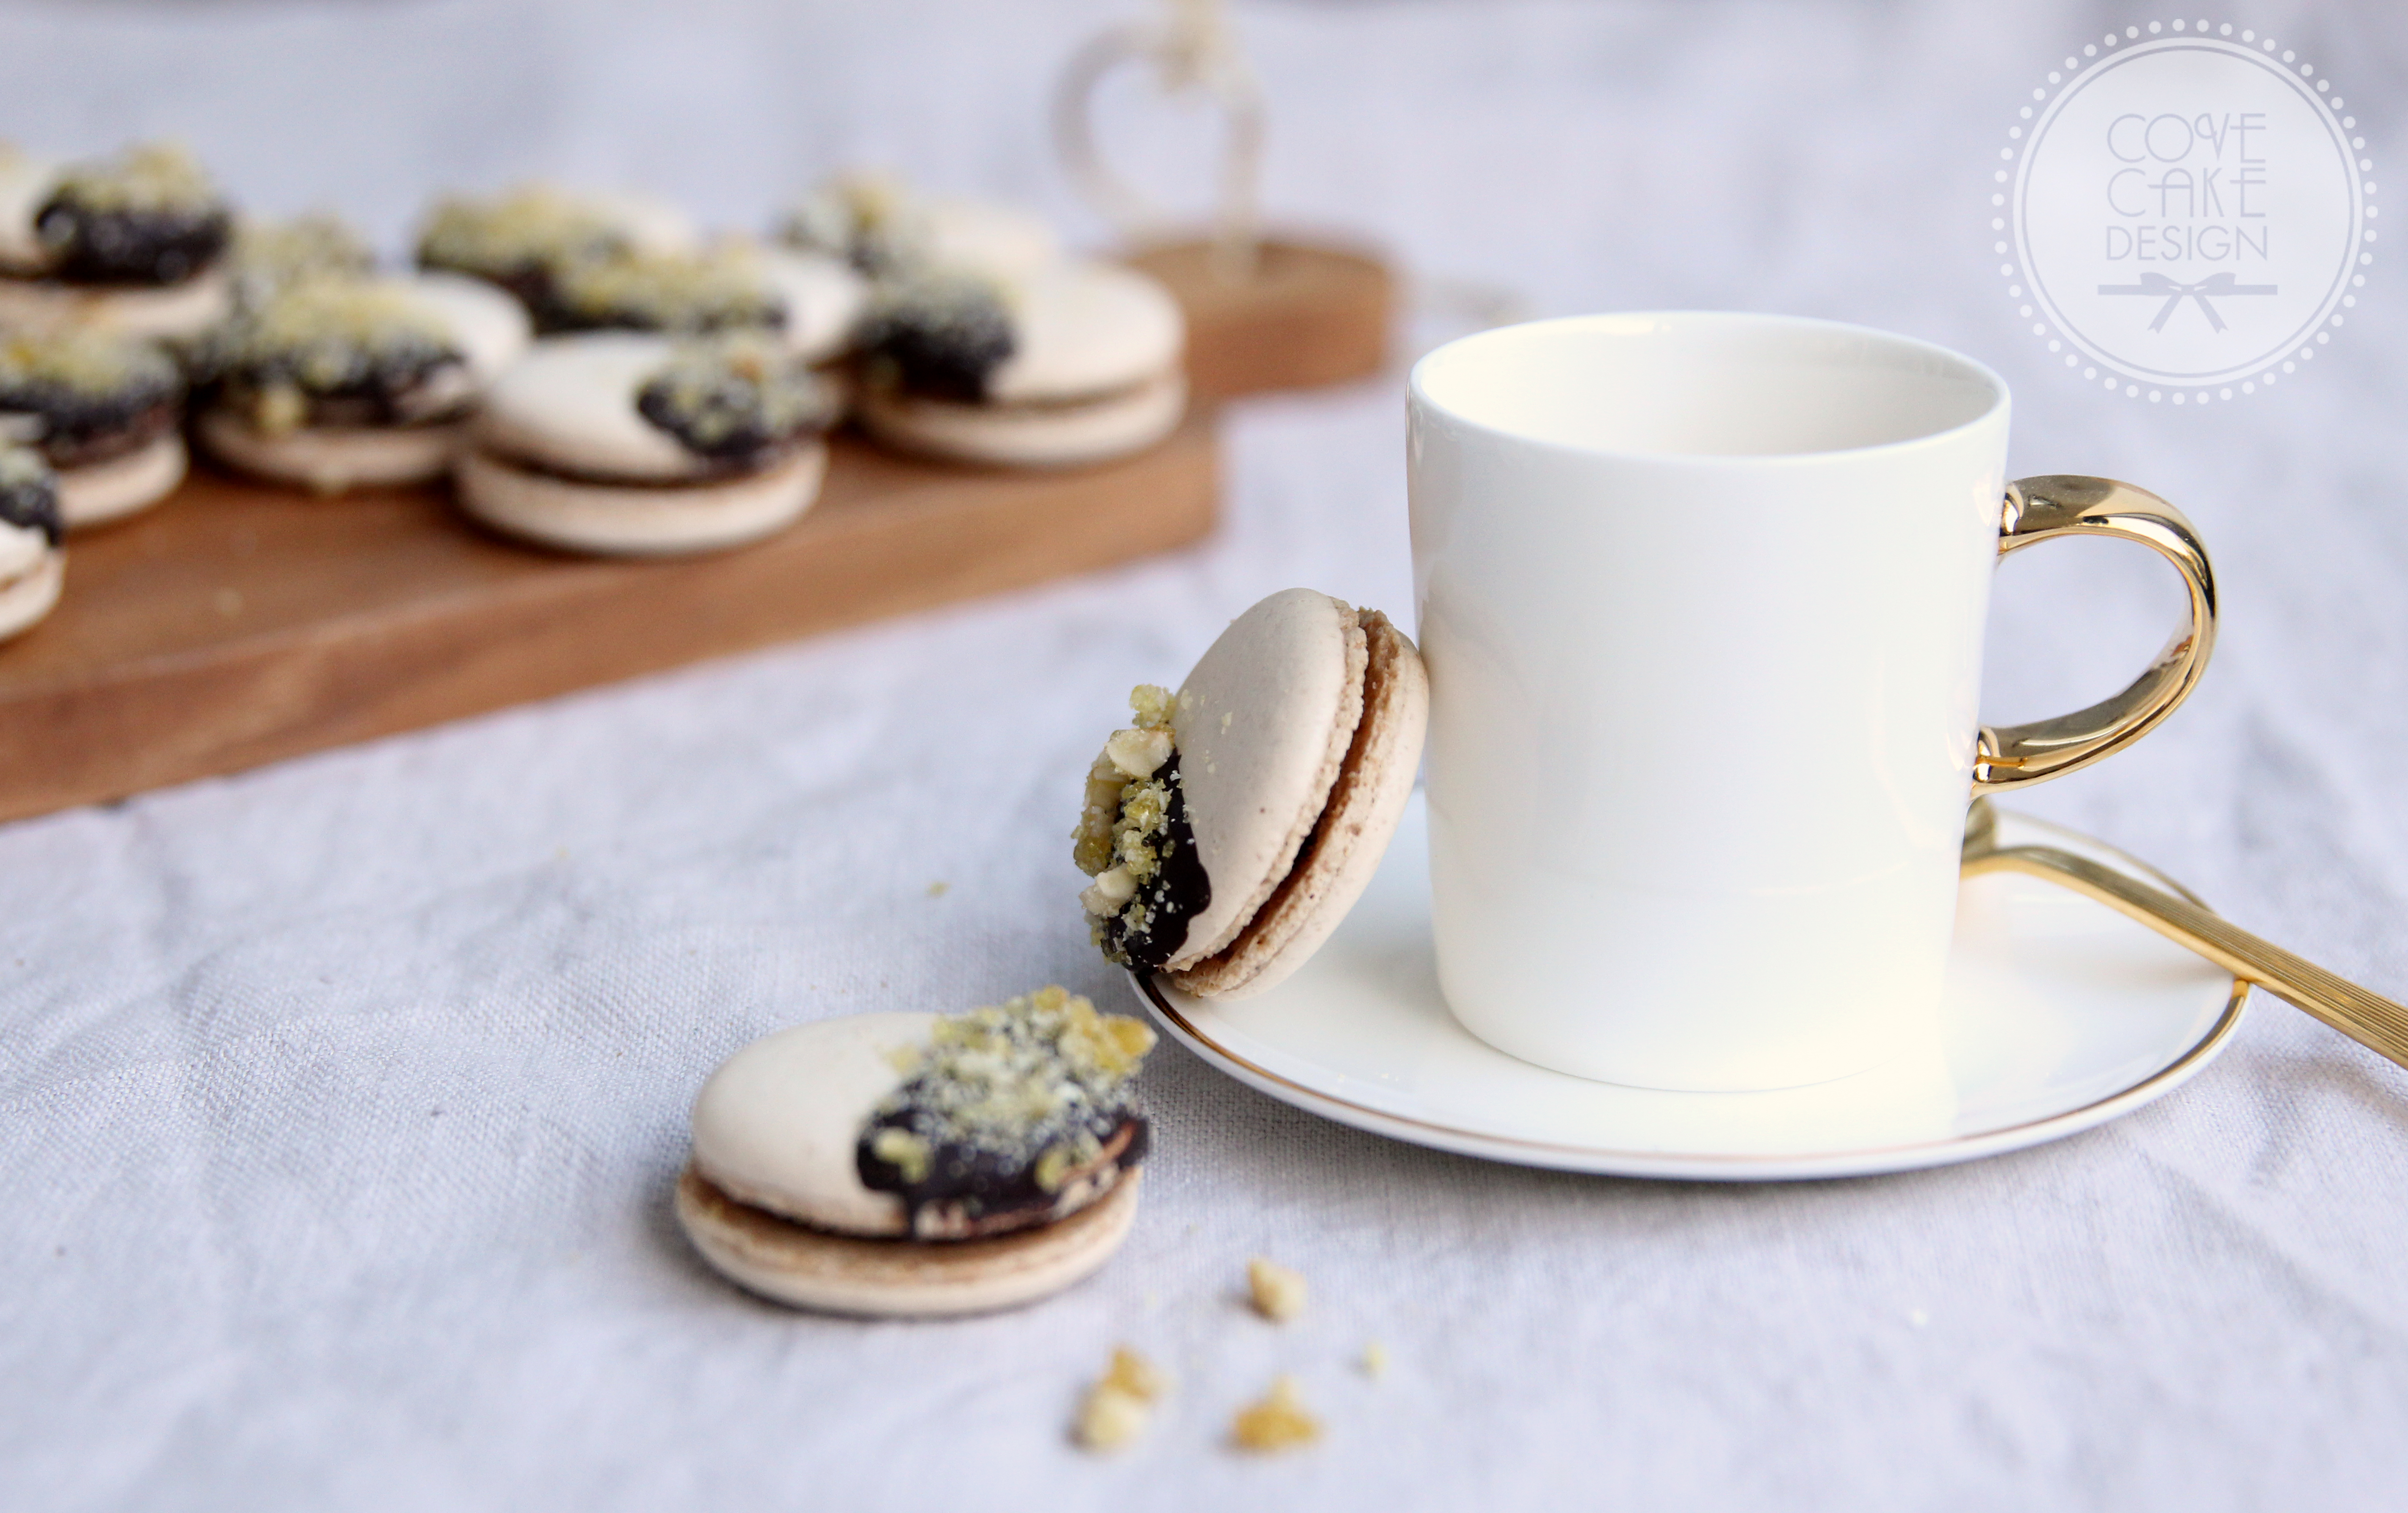
Hazelnut Chocolate Orange Macarons

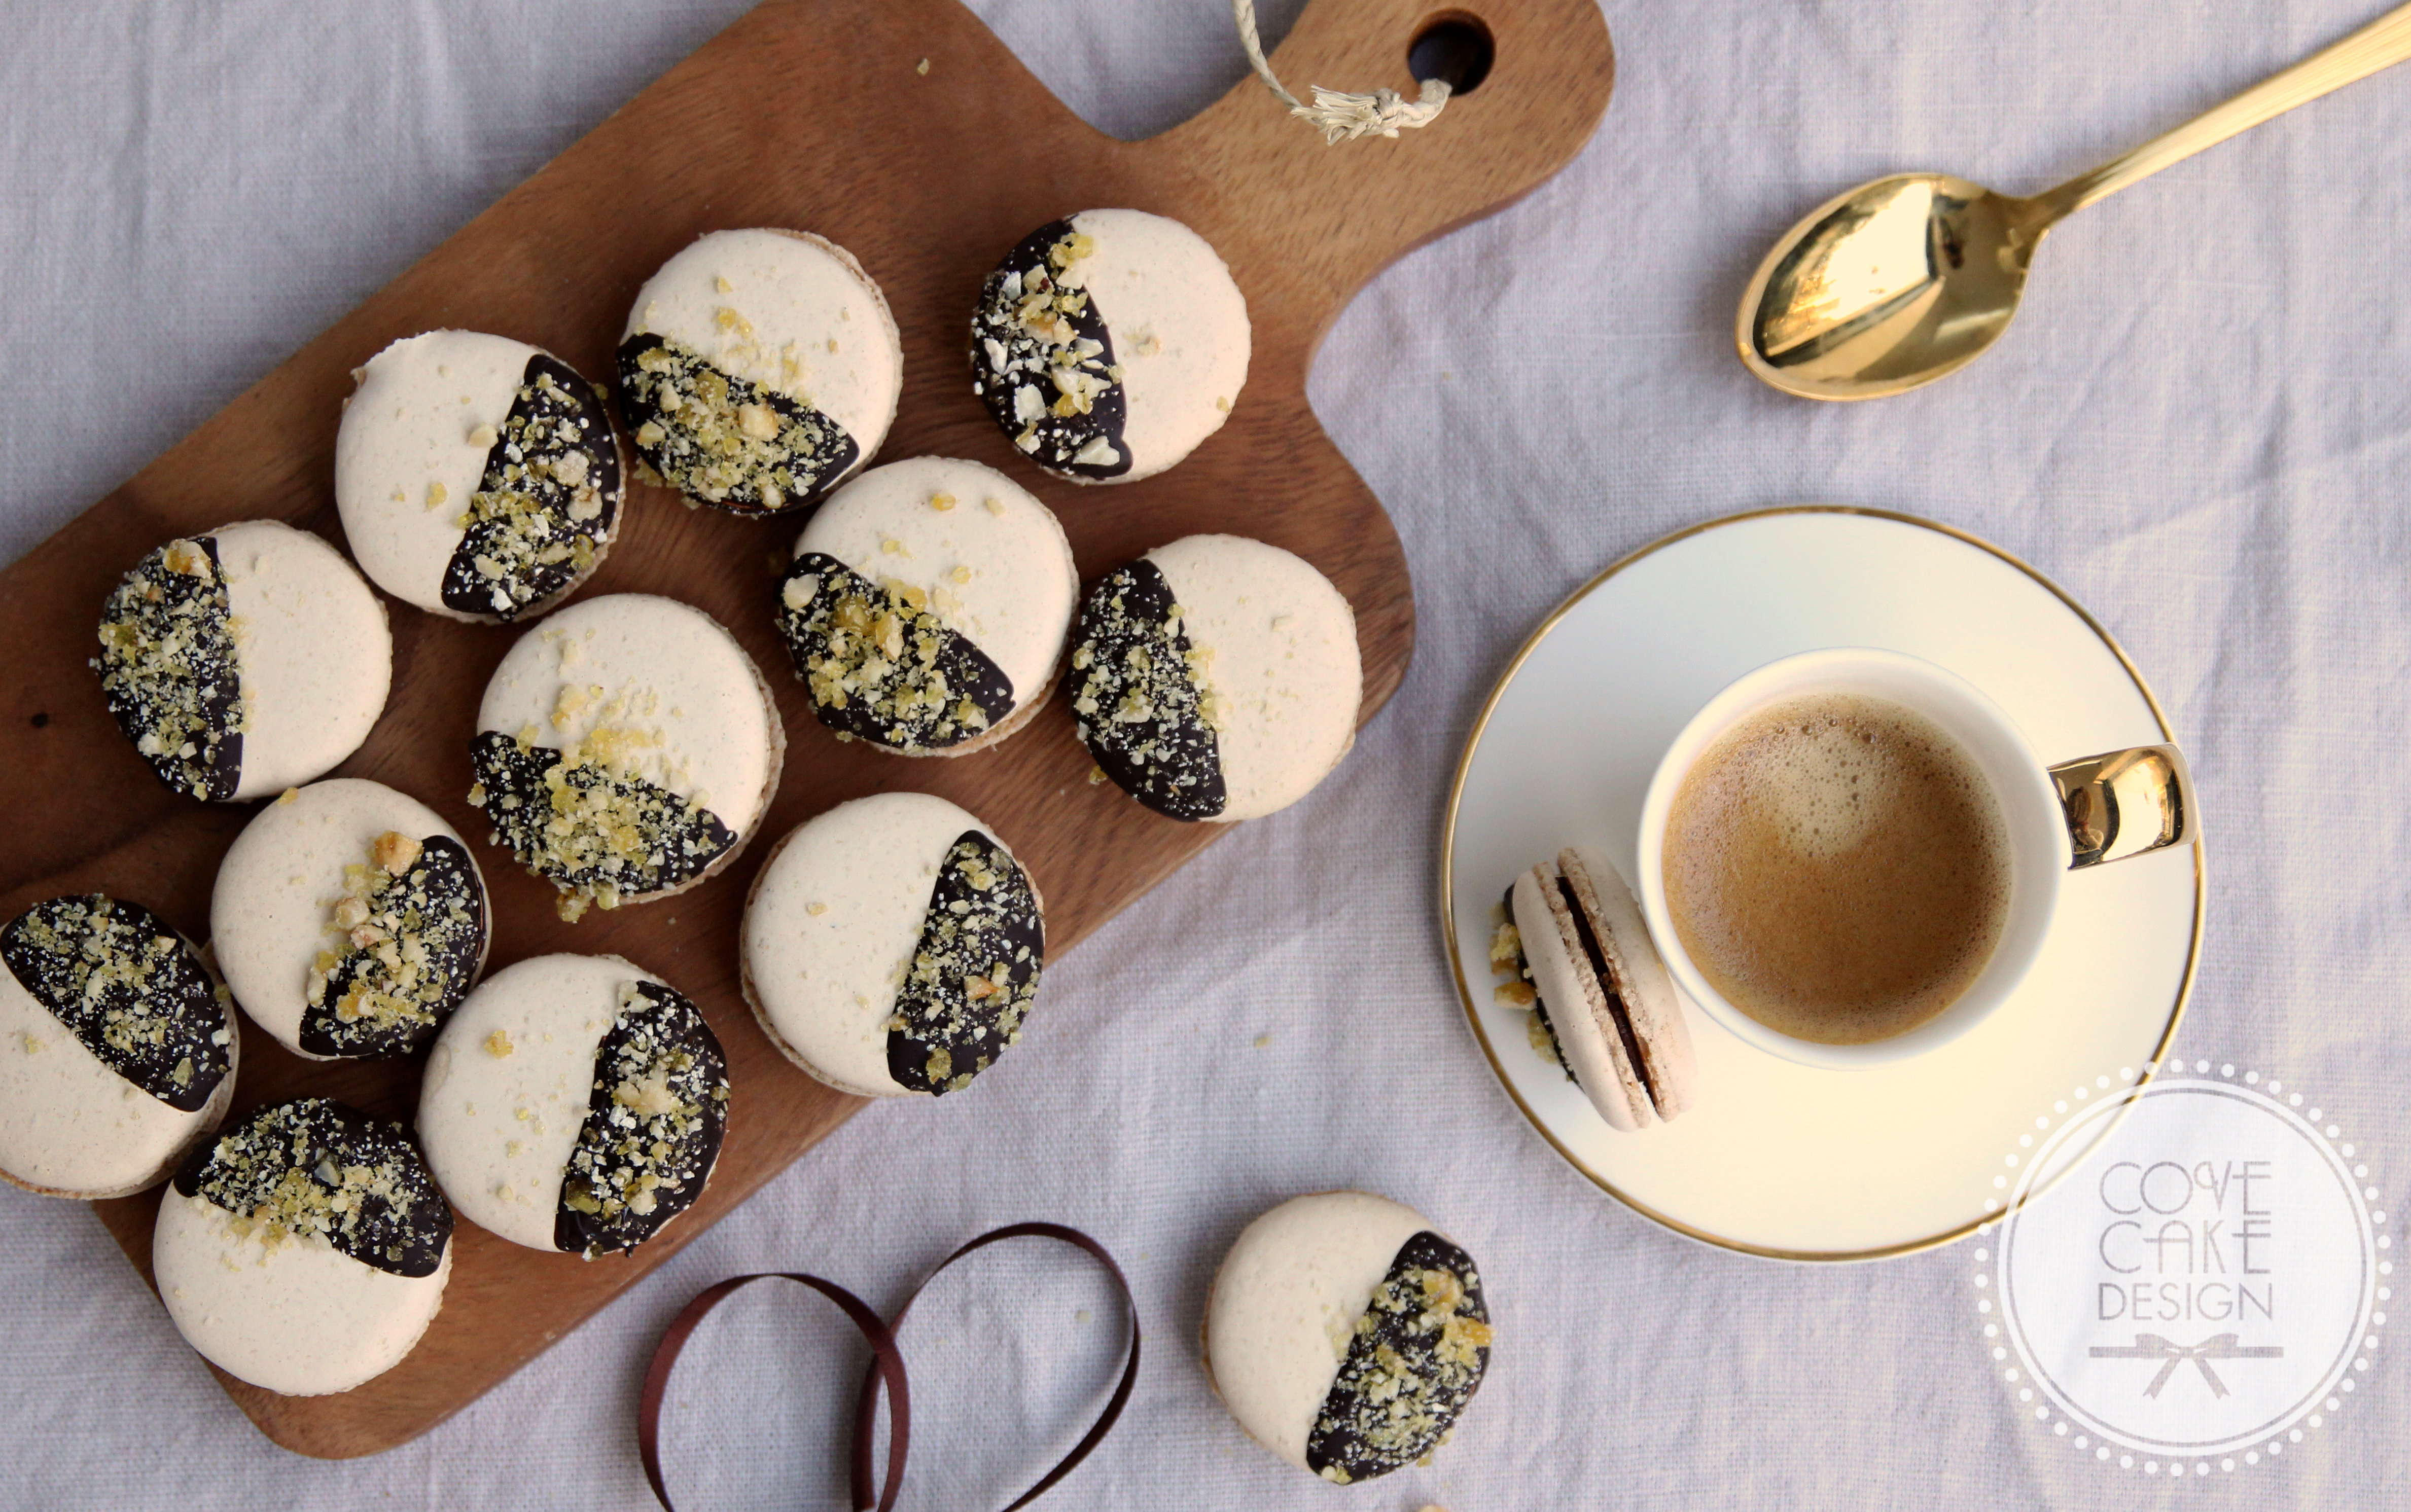
I made these macarons as my edible Christmas gifts last year. The combination of chocolate and hazelnut is a well renowned match made famous of course by Nutella! The addition of orange zest adds a fresh twist and the decoration of dipped chocolate coated in crunchy hazelnut praline adds an additional layer of flavour and luxury….the perfect gift and indeed luxurious teatime treat! Enjoy!

Hazelnut Macarons with Chocolate Orange Ganache and Hazelnut Praline

Ingredients for the Hazelnut Macarons:

  • 50g hazelnuts
  • 50g ground almonds
  • 100g icing sugar
  • 100g caster sugar
  • 2 x 40g egg white

Ingredients for the Chocolate Orange Ganache:

  • 110g 70% dark chocolate
  • 100ml pouring cream
  • 10g caster sugar
  • 25g unsalted butter
  • finely grated zest 1 orange

Ingredients for the Hazelnut Praline Decoration:

  • 100g 70% dark chocolate, melted
  • 75g caster sugar
  • 75g skinned toasted hazelnuts, chopped

Step 1: To make the hazelnut macarons, preheat the oven to 170°C/315F.  .

Step 2: Place the hazelnuts on a baking tray and place in the oven for approx 10-15mins, shaking every few minutes to turn. Take care  not to burn. Remove from the oven and leave to cool slightly before placing in a clean tea towel and rubbing to remove the skin.

Step 3: Place the skinned hazelnuts, ground almonds and icing sugar into a blender and grind to a fine powder. Sieve into a clean metal bowl, discarding any large particles. Add 1 x 40g egg white and mix to form a paste (called the tant pour tant). Set aside.

Step 4: Clean the inside of the metal bowl of a food mixer and the whisk attachment with lemon juice or boiling water to remove all traces of grease. Wipe with paper towel. Place the second 40g egg white into the bowl.

Step 5: Place the caster sugar and water into a small saucepan and bring to the boil, swirling now and then to ensure even heating.

Step 6: Meanwhile whisk the egg white to soft peaks. When the temperature of the sugar syrup reaches 105°C, increase the speed and whisk to stiff peaks. When the syrup reaches 115°C, remove from the heat and pour the syrup in a thin stream into the egg whites. Whisk for approximately 10mins until thick and glossy.

Step 7: Add about a third of the meringue mixture to the hazelnut/almond mixture and fold in to loosen. Then add the rest of the meringue mixture, folding in until it has a ‘flow’ similar to consistency of lava.

Step 8:  Fit a piping bag with an 8mm round nozzle and pour in the batter. Pipe small well-spaced rounds of batter approximately the size of  a walnut onto a silicone baking mat on a baking sheet (if you don’t have a silicone mat use baking parchment and attach the corners to the tray with a small blob of the batter). Tap the trays on the counter 3-4 times to remove air bubbles. If any fail to pop use a cocktail stick to do so. Leave to form a ‘skin’ for approx 25-45mins depending on ambient temperature and humidity (test by touching gently with the tip of your finger, if skin has formed your finger should come away clean).

Step 9: Bake in the oven for 12-15mins, turning the tray half-way through. Leave to cool completely on the tray before removing.

Step 10: To make the chocolate orange ganache, place the orange zest and cream in a saucepan and heat gently until warm. Remove from the heat and allow the orange to infuse for 1hr. Pass through a fine sieve to remove the orange zest.

Step 11: Add the sugar to the cream and reheat.

Step 12: Meanwhile place the chocolate into a mixing bowl.

Step 13: Pour the cream over the chocolate and stir until chocolate is melted.

Step 14: Finally add the butter and stir to combine. Allow to cool and refrigerate for approximately one hour before filling the macarons

Step 15: To make the hazelnut praline, heat the caster sugar in a small saucepan until dissolved. Swirl gently to ensure even heating. When the syrup is a golden brown colour, remove from the heat and add the chopped hazelnuts. Stir with a spatula before transferring to a piece of baking parchment to cool. When cool, break into a food processor and pulse gently to form a medium coarse powder.

Step 16: To finish the macarons, dip half the macaron shells in the melted chocolate and place on a piece of baking parchment. Sprinkle with the hazelnut praline and leave to set.

Step 17: Using a piping bag fitted with an 8mm nozzle, fill the other half of the macaron shells with the chocolate orange ganache and place the chocolate praline coated shells on top. Place the macarons in the refrigerator. They are best eaten after 24 hours and within 72 hours of filling.

Macarons – Rose and Raspberry Recipe

I have always had a little love for macarons. For many years my husband has flown for work with Air France which has meant regular routings via Paris.  Whilst I was still a poor student, and long before macarons had made a major appearance in Ireland, he would bring me home beautiful little packages of pastel-coloured goodness from the airport’s branch of Ladurée.  Such a treat!

When I started my cake business, macarons became something that I wanted to make myself. They are so beautiful as wedding favours, or as additions to a cake table, and the flavour combinations are endless!

Macarons are however notoriously difficult to make.  There are many variables that can affect the ability to get perfectly identical macarons with a smooth top, nice feet, crispy shell and soft chewy middle.  These variables range from underwhipping to overwhipping the egg whites,  under-resting or over-resting, baking temperature, under-baking or over-baking, the weather, phase of the moon..(!)..etc.

My biggest stumbling block was collapsed insides. The macarons would look perfect, with shiny tops and nice feet, but inside was just a large airpocket. I discovered that this was due to them not being completely cooked inside which caused them to collapse when taken out of the oven. After some experimentation I found that a change in the baking temperature solved the problem!

Having found what methods work for me in my kitchen I am now addicted to making macarons and playing with flavours! So here I have decided to share some of what I have learned and what methods I use as well as a favourite recipe.

French or Italian

Macarons can be made by the French meringue method whereby the egg whites and caster sugar are whipped into stiff peaks of meringue before adding the almond meal mixture, or the Italian method in which a hot sugar syrup is added to whipped egg whites to make the meringue. Having experimented with both I now prefer the Italian method, as it gives smoother shinier tops and is also more consistent due to the meringue being more stable.

To age or not to age

Many recipes say to age the egg white before use which dries them out whilst maintaining the protein structure, hence making them more elastic and better for whipping. I sometimes age the egg white and sometimes don’t depending on my time constraints. I have never found a difference so don’t see it as critically important for success.

Silicone or baking parchment

I started off using baking parchment but found that I got lopsided macarons at the edges of the tray. I believed this was because the parchment wasn’t completely flat having been taken off a roll. I moved to silicon mats and no longer had lopsided macarons.  My mats aren’t specifically for macarons so don’t have a template. I hence just count to 3 when I am piping the mixture. With the pressure that I use this gives me the size of macarons that I want. I do find that macarons take a little longer to cook on silicon than on parchment.

Trays

In the early days I invested in a beautiful large heavy duty baking tray to maximise the chances of macaron success. However when in need of extra trays I now also use some older cheaper ones and don’t see a difference in results dependent on the type (or cost!) of tray I use.

Resting

This I have found is essential. The theory behind resting your macarons is that a skin forms on top and when they are put in the oven and begin to rise the air is forced out at the bottom creating those lovely feet. There have been times when the weather has been damp or for some unknown reason my macarons have taken too long to form a skin. When I put these in the oven I get little/no feet and burst tops as the air escapes from the top instead. To speed up skin formation I sometimes put my trays under the light of my extractor fan which gives off a little heat or in a room with my dehumidifier. I also try to plan my macaron making for dry days!

Temperature and baking time

I started off baking at 150°C for 14-16mins, removing the macarons when they no longer had a ‘wobble’ which shows they were cooked (or so I thought). However, they were collapsing completely on cooling which I discovered was due to the fact the insides weren’t actually cooked enough. I experimented with different temperatures and found that by baking my macarons at 170°C for approx 15mins they came out perfect! Any longer and they started to brown on top, any less and they weren’t cooked. I do however think that the temperature and cooking time is something that needs to be tested under each baker’s tray/oven conditions.


And finally…a recipe for one of the first flavours I worked on and a really lovely one, Rose and Raspberry!

Rose and Raspberry Macarons

Ingredients:

  • 100g ground almonds
  • 100g icing sugar
  • 100g caster sugar
  • 40ml water
  • 2x40g egg white (not pasteurised)
  • Red paste food colour
  • 1/2 – 1tsp of rosewater to taste
  • Good quality raspberry conserve (I make my own but there are so many good brands out there too!)

Step 1:  Grind the almond meal and icing sugar in a food processor for 1-2 mins until powdery. Sieve into a clean metal bowl and discard any larger pieces. Add 40g egg white,  the rosewater and some red food colour and mix using a spatula until a paste is formed and the colour is evenly distributed. The colour will lighten on addition of the meringue and also during baking so make sure the colour is darker than required for your finished macarons.

Step 2: Place the caster sugar in a small saucepan and add the water. Bring to the boil without stirring but swirling now and then to ensure even heating. Make sure there are no sugar crystals around the edges of the saucepan and if so, use a pastry brush dipped in a little water to brush the sugar back down into the syrup. Use a sugar thermometer to ensure the temperature of the syrup does not pass 115°C.

Step 3: Meanwhile, begin to whisk the second 40g egg white to soft peaks in a spotlessly clean metal bowl. Increase the speed of the mixer as the temperature of the sugar syrup passes 105°C. When the syrup reaches 115°C remove from the heat and slowly pour the syrup in a steady stream into the egg whites. Take care to pour the syrup onto the whites and not onto the whisk or edge of the bowl. Continue to whisk on high speed for 5-10mins until the bowl is cool to the touch and the meringue forms stiff peaks.

Step 4: Using a spatula, incorporate a third of the meringue into the almond paste mixture to loosen the paste a little. Then add the rest of the meringue. Work the batter by sweeping the spatula around the edges towards the centre and scraping from the bottom up over the top. This is called ‘macronage’. The batter is ready when it has a ‘flow’. Test by making a small peak in the batter and seeing if it begins to disappear back into the mixture.

Step 5: Fill a piping bag fitted with a 1.5cm or similar round nozzle. Line 1-2 baking trays with a silicone baking mat or baking parchment. (If using parchment, stick down on the tray at the four corners with a little of the macaron batter). Pipe out regular circles of batter leaving a little space in between each one. When finished lift the tray and drop onto the countertop to release air bubbles and help settle the macarons. If any air bubbles are visible that haven’t popped use a small cocktail stick to do so.

Step 6: Leave the macarons to rest to form a skin on top. They are ready when you can lightly touch the surface with your finger and no mixture comes away.

Step 7: Meanwhile preheat the oven to 170°C. When the macarons are ready to be cooked place in the oven and bake for 14-16mins turning the tray midway through. They are cooked when they no longer wobble when you gently try to move one from side to side.

Step 8: Remove from the oven and leave to cool completely before removing from the tray. Store in an airtight container until ready to be filled.

Step 9: To assemble the macarons, first match them up in pairs. Using a teaspoon or piping bag put some raspberry jam on one half of each macaron and sandwich the other on top. Take care not to overfill. Store in an airtight container in the fridge for a day before enjoying!